I did not intend to work on this horse as much as I did today. My initial plan was to just do THE SCALES! Then I kept having a little bit of Apoxie left, and then I realized that I could just get so much done, and just...wow!
 |
| (Seriously...did not intend on getting this all done in one fell swoop!) |
But I got ahead of myself. Earlier in the day, I had been working on painting my
Year of the Pig magnets/medallions. Due to being an impatient person, I usually paint several projects at once, so I also had four Maggie Bennett micro minis on the table (I fell behind on keeping up with painting them). When I did finally stop for the day, I was already tired, but in a good way. Knowing NaMoPaiMo is fast approaching, I wanted to put in a bit of work on my model, and you already read what happened!
 |
| (The main project right now-Year of the Pig Sculpey magnets/medallions) |
We'll preface the actual sculpting a bit more here. If you're new here, you may not know that I have sculpted and worked with clay before. It is not a media I'm unfamiliar with. I AM still learning how to use it on model horses (wires are still strange to me as that is one technique I did not explore while in high school or college-shame on me!) So I've had varying success with clay on models, particularly in the wing department. (Hence my original model idea being a pegasus-darn shoulder!) You can view these models below. WARNING: more pictures than I realized! View at your own discretion.
First those with wings:
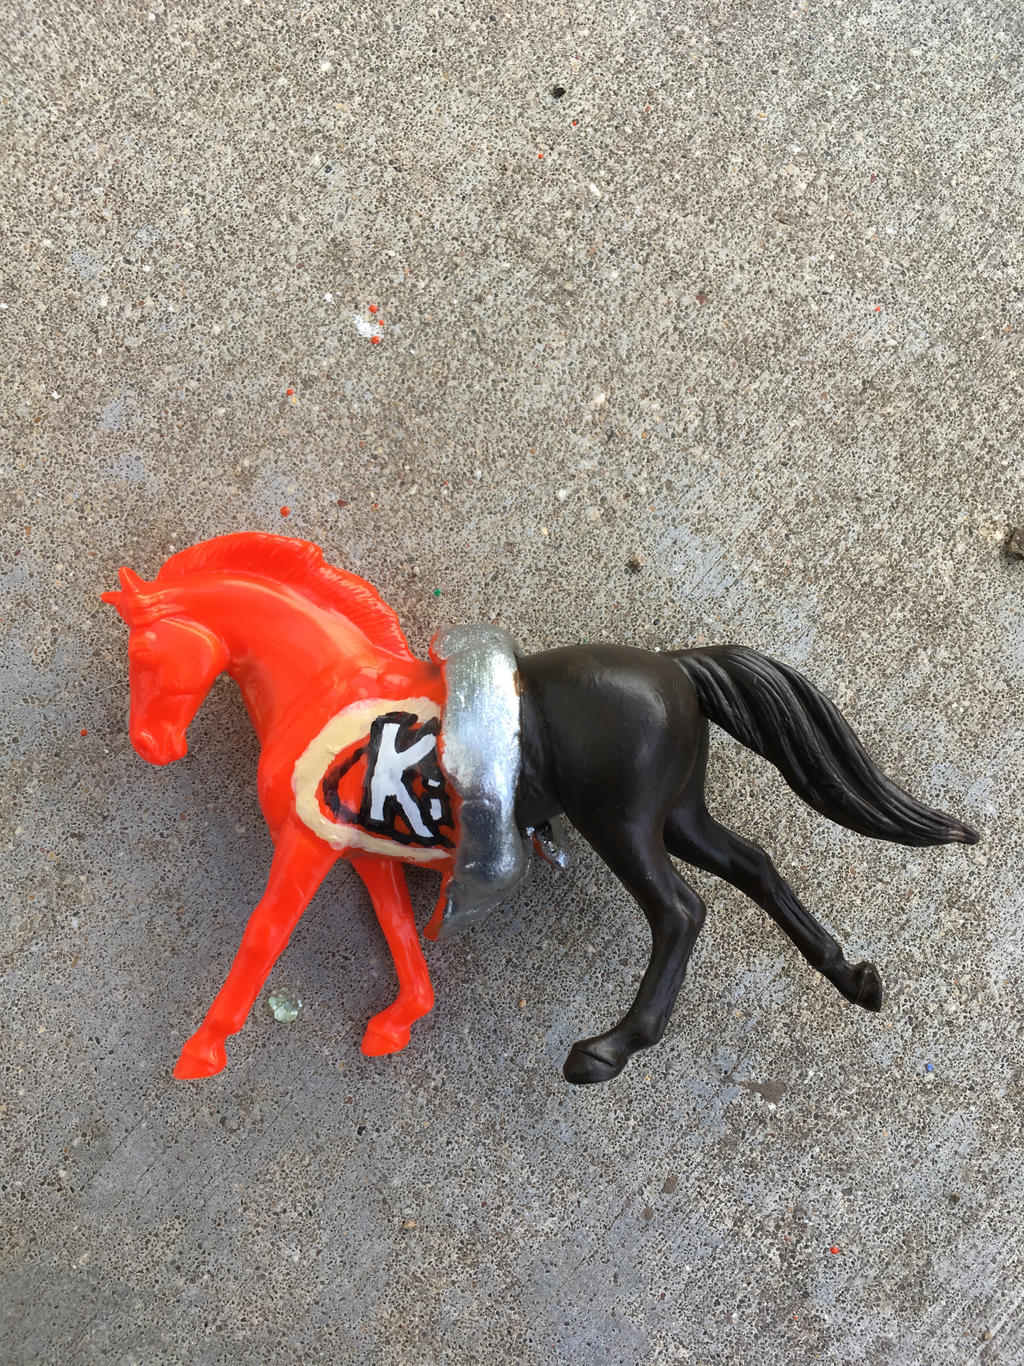
 |
| (I did not sculpt these wings-just to be clear! I took them off a Safari dragon.) |
 |
| (This one I did all the sculpting) |
 |
| (This is the oldest one I have-in regards to wings, this was in 2017.) |
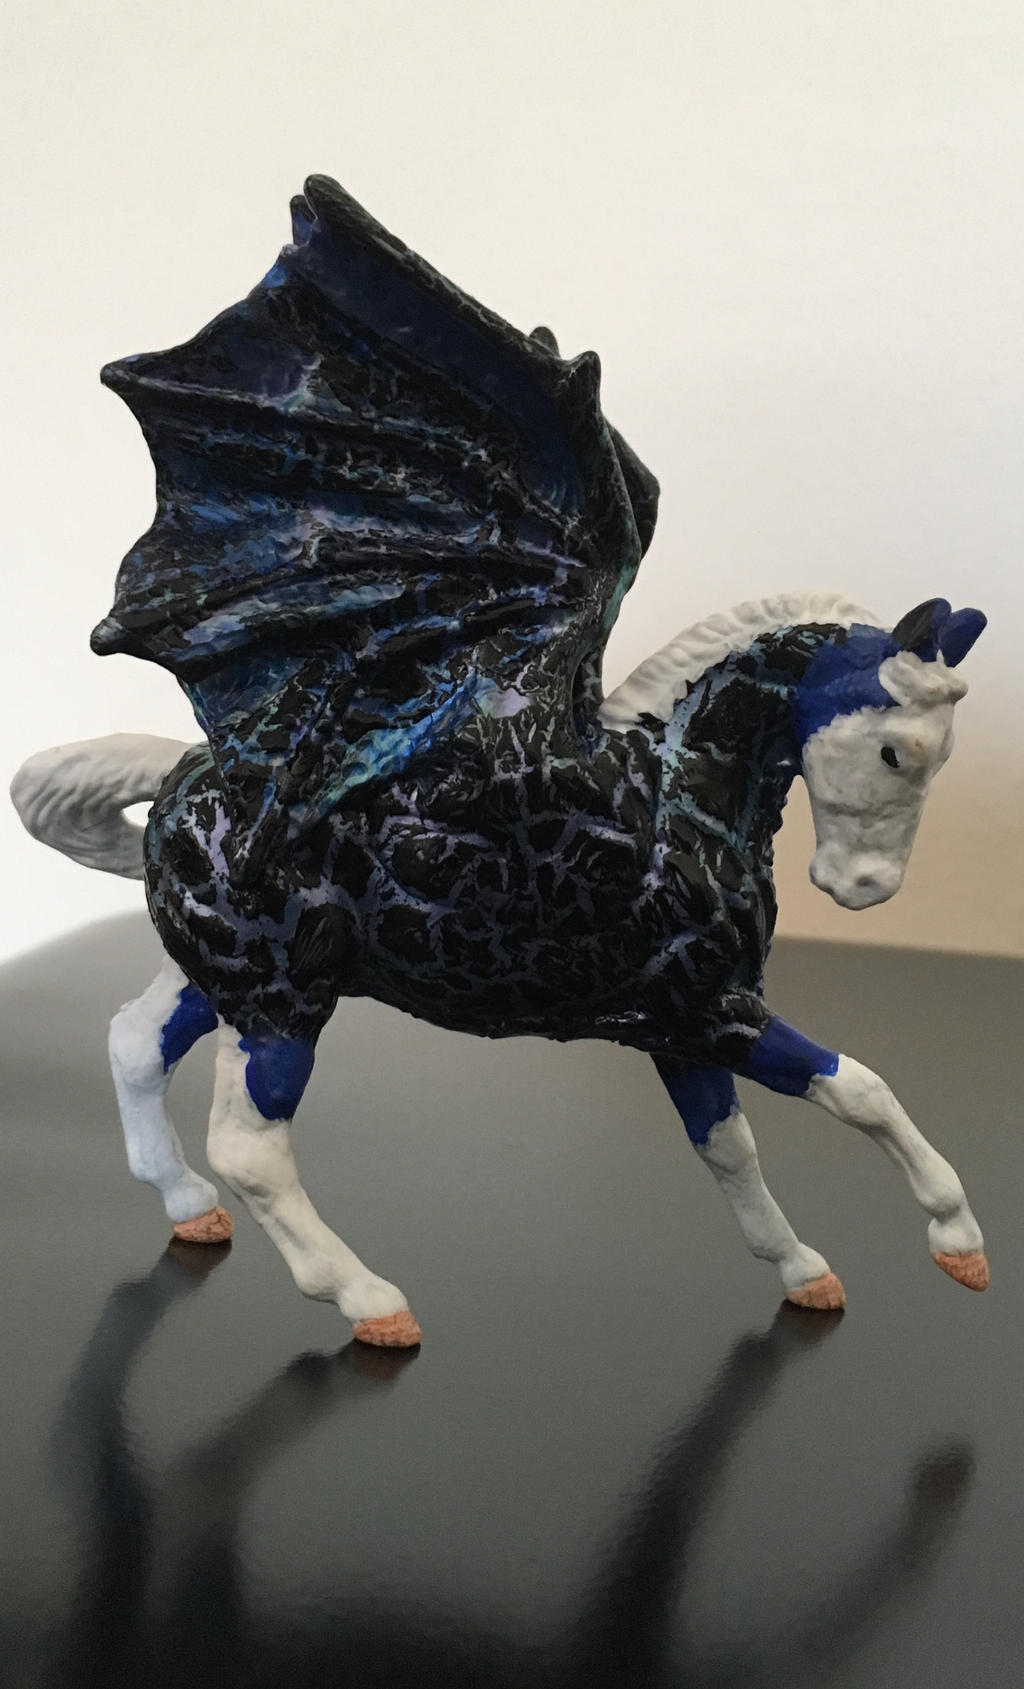
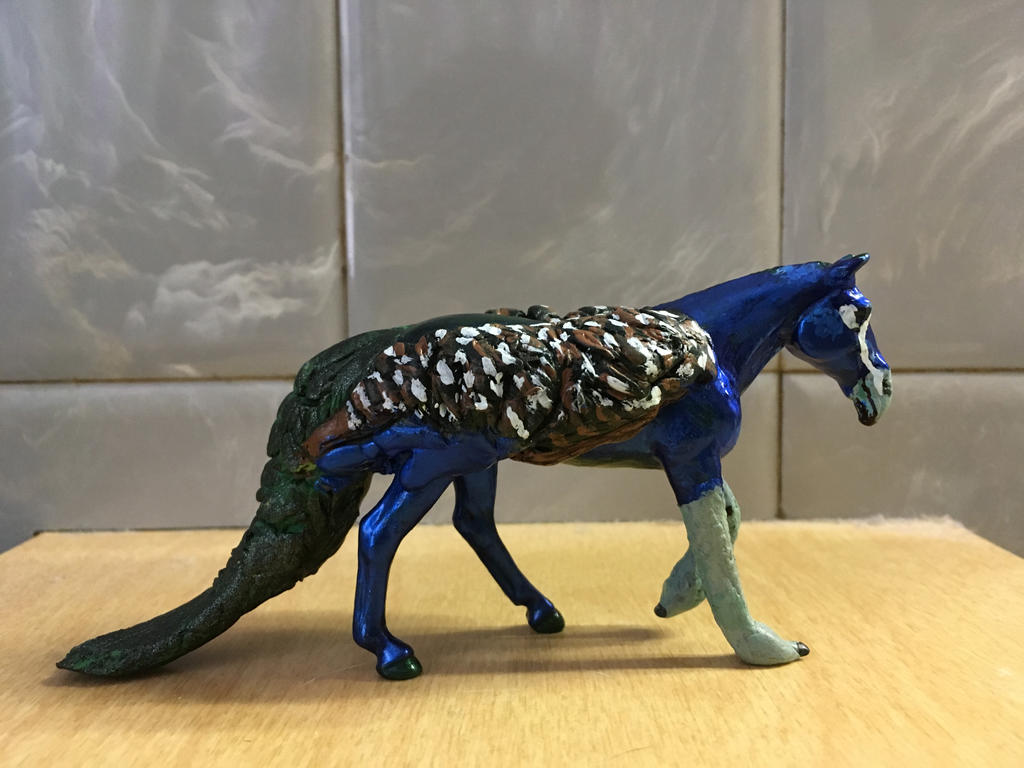
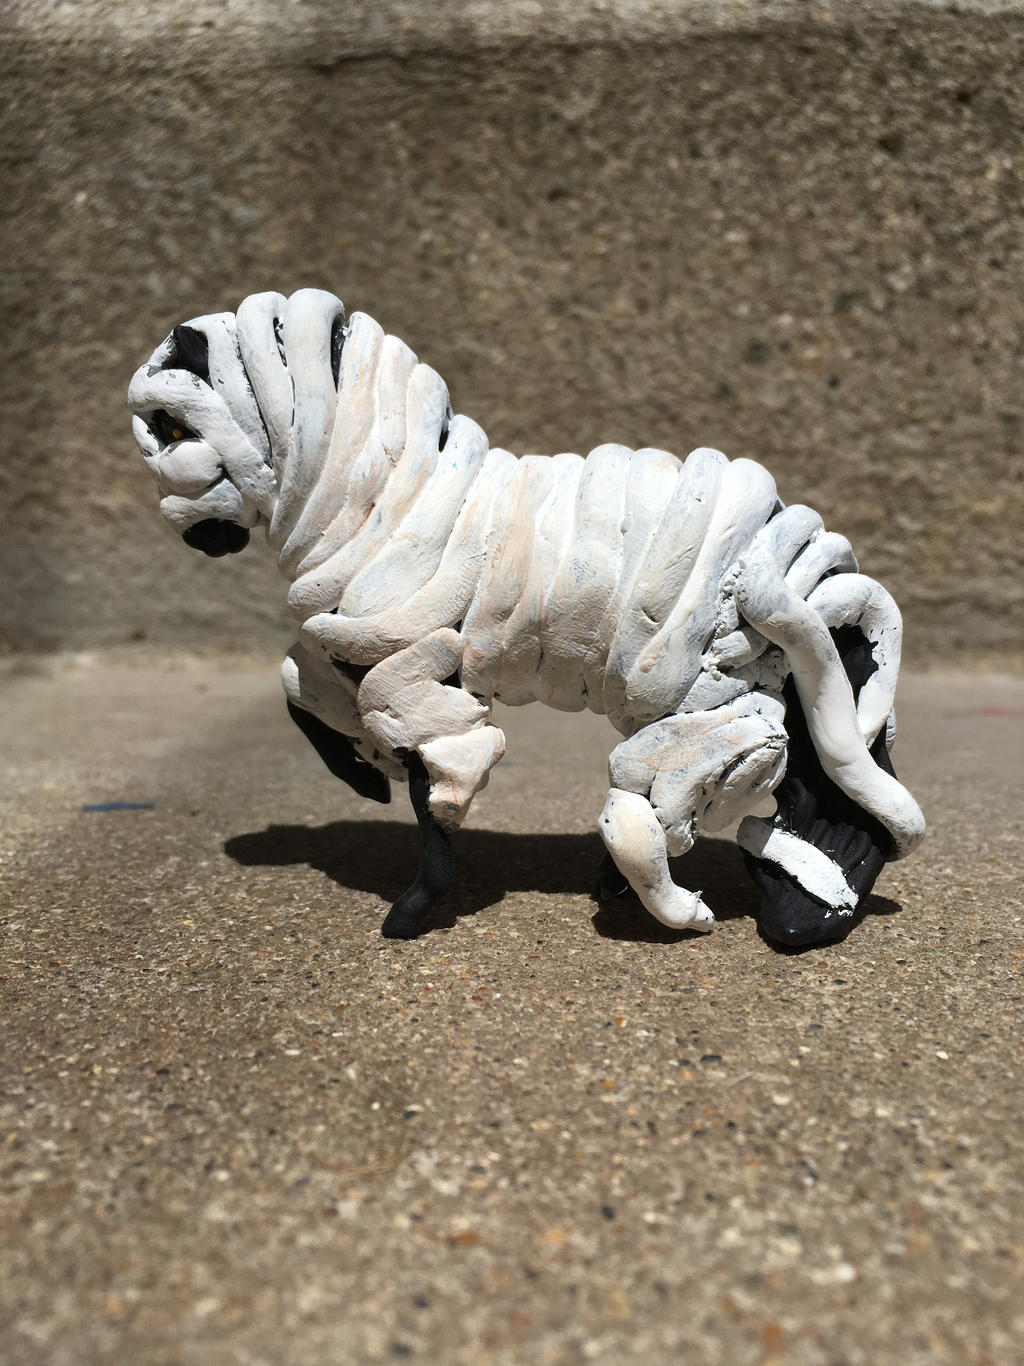
And those that just had clay additions:
 |
| (A more recent use of clay on a model) |
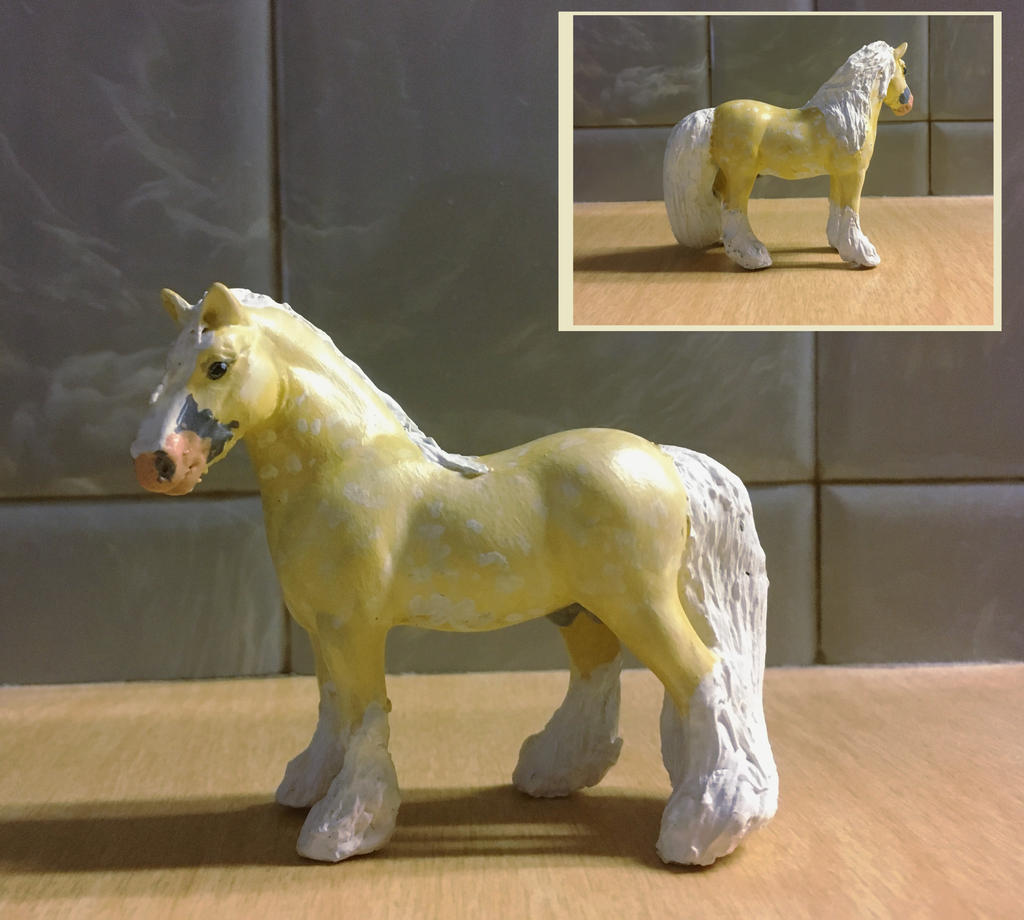
 |
| (One of my favorites) |
 |
| (It should be mentioned that this one has Apoxie Paste in use, something I don't have for my NaMo model) |
 |
| (You can tell I'm a stranger to fantasy, right?) |
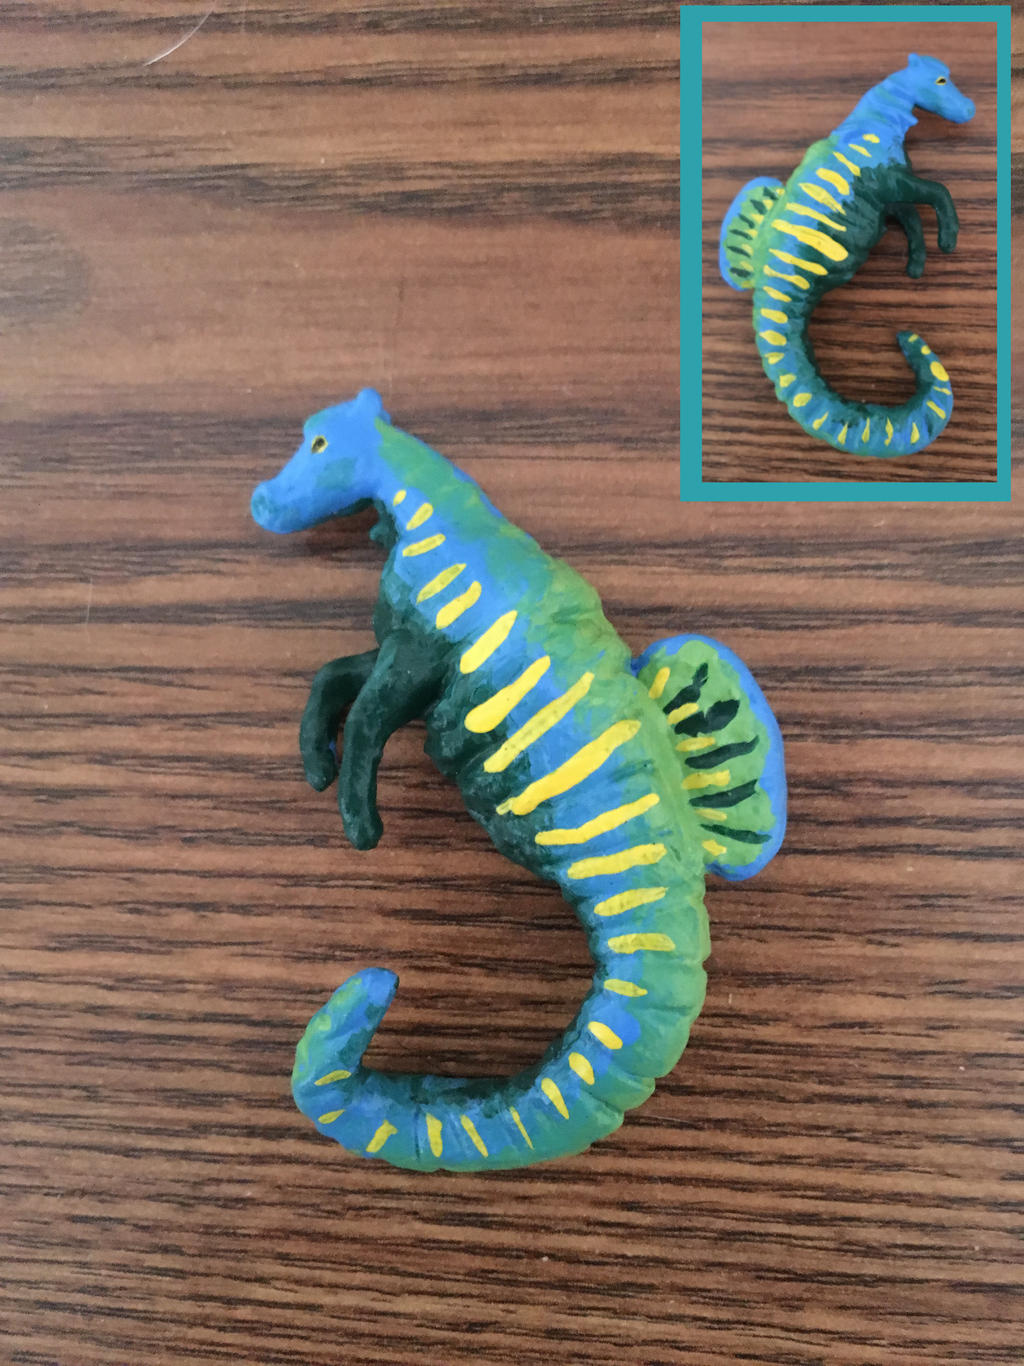
 |
| (Another of my favorites) |
With the background out of the way, let's dive into the process now!
With my original NaMo model, I did not need to sketch out what I wanted. I knew exactly how I wanted the model and wings too look. Usually, this is how I work. Every now and then, I do need to sketch out my idea(s) though, especially in this instance as my intent is to create a Kirin.
Kirin are the Japanse version of Qilin, which is Chinese. Both are mythical, hooved chimeras. I have worded the description this way due to the many ways in which a Qilin/Kirin is described. Qilin, specifically, tend to have attributes of the Chinese dragon, as well as partially scaled bodies, beards, thick manes, cloven hooves and are often shaped like oxen, deer or horses. It is believed that giraffes, yes giraffes, were thought to be Qilin. There are other attributes that are commonly seen like antlers (attribute of the Chinese dragon), a single horn (Western modernization of the creature), tufts of thick fur, feathering on the legs, catfish like whiskers, even fins! If you want a fun fantasy creature to try for your first time that's outside the realm of unicorns and pegasus, this is a great one! There isn't a wrong interpretation of this creature! Just look at game art, or even just art in general if you need inspiration. This is a great mythological creature, lore and all!
 |
| (Sketch of my model with Kirin features) |
With research and then the sketch out of the way, as well as the initial sanding of last time, it was time to start adding those Kirin features. With Apoxie and some tools, the fun began!
Once again, I originally only planned on doing the scales of the Kirin this evening, but as I kept going and kept having "just a bit" of Apoxie left over from each task, I soon had 95% of my Kirin features added this evening.
To achieve the scale pattern, I used excess filter netting from my Goldfish's filter parts (unused) and pressed that into the clay once I had laid down where I wanted my scales to be.
 |
| (Tools used this evening) |
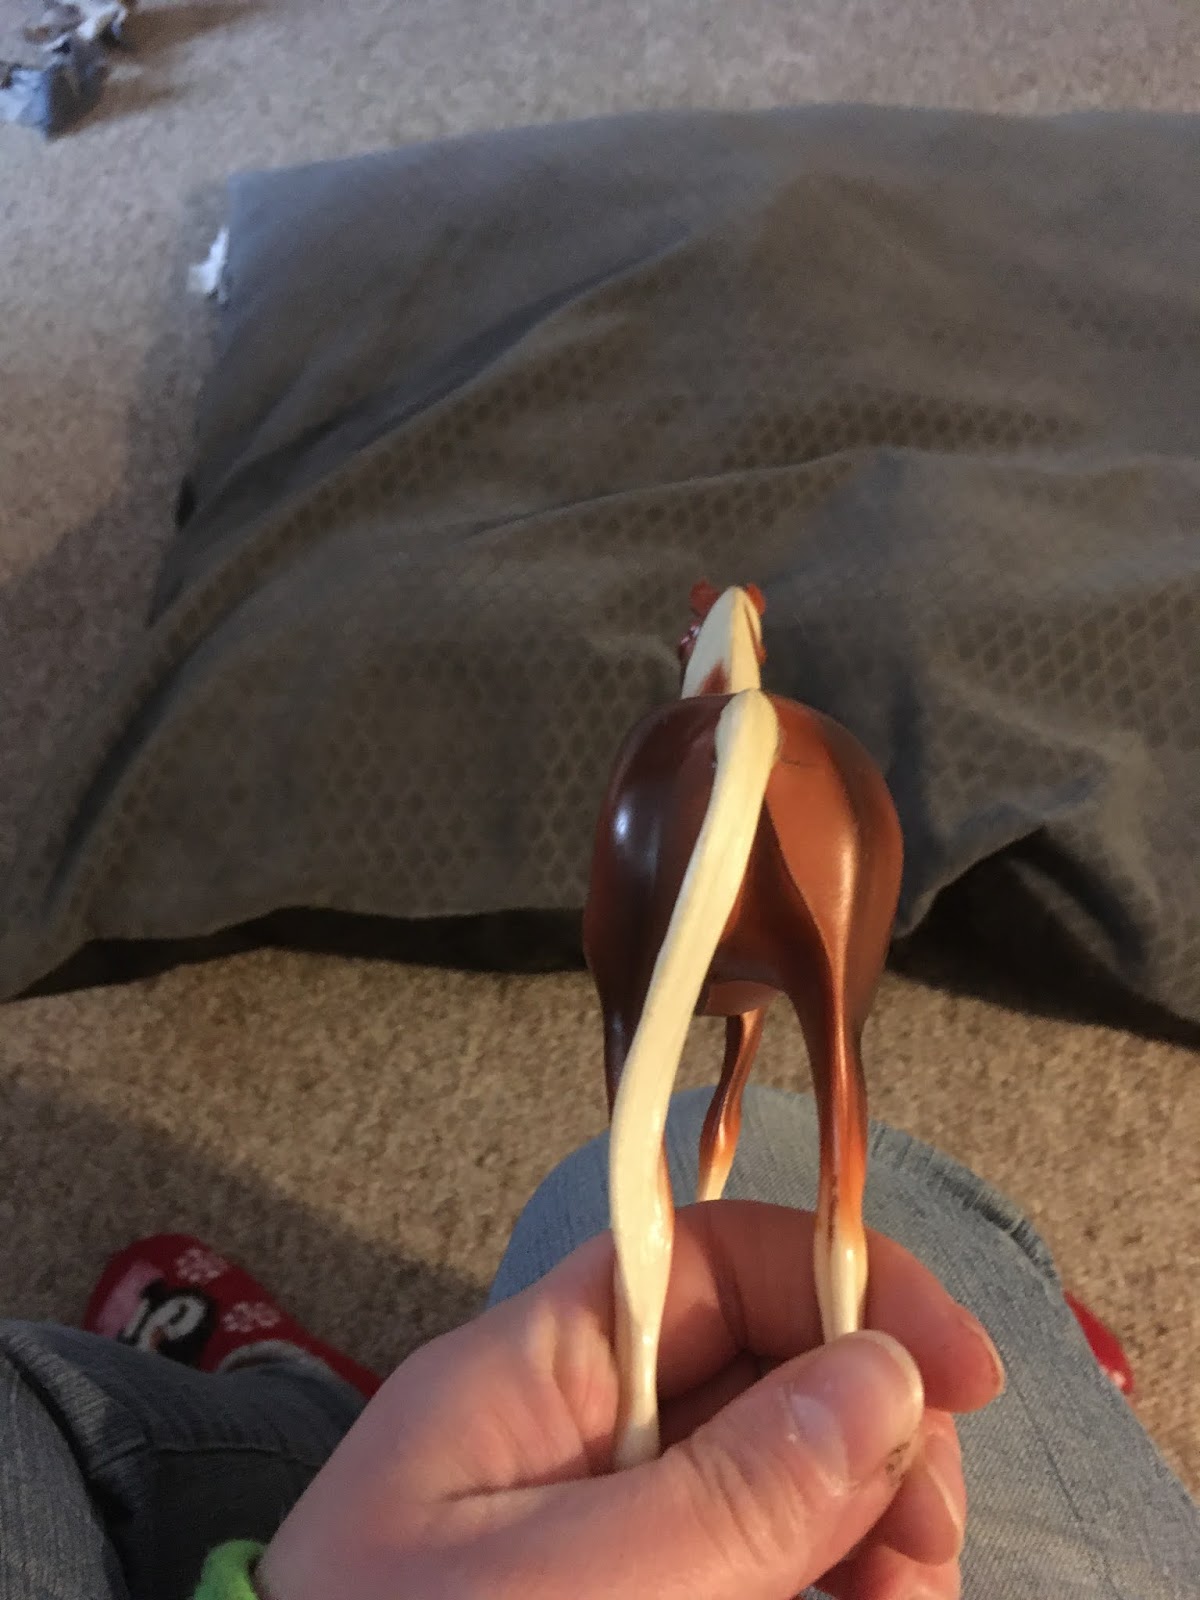
With my scale pattern in, it soon became clear that I would need to do a new mane; as the scales were a bit thicker than I'd initially intended (plus you can only roll clay so thin and stretch it so far). Again, I did not plan on doing that tonight either. What I did decide to do with my "little bit" of Apoxie left was add the beard and feathering on the legs. Midway through this process I needed to make more Apoxie (can you see the vicious cycle that started?)
Once finished with the feathering and beard, I still had a bit of Apoxie left, so I started work on the tail as it needed thickening as well as a "lion" like tail added. You can see in the image below that it was SUPER thin. And of course, once the tail was done (more Apoxie made too) I still had some left from the newest batch...onto the mane I went!
As I didn't go into the process of how I got the scales on before, and as it's the same I used for the mane, I rolled out the Apoxie with a rolling pin until it was as thin as I could get it (and still lift if off the table) and lay it across the body, cutting it to size with my shaping tool (which ironically, cuts really well). From there I used the needle tool to add texture to the mane.
With still more left Apoxie left, I moved on to the scutes in my sketch, adding those to the legs like I originally planned. Once these were in place, I decided that some needed to be added to the belly, neck and chest, but not all connected like you'd traditionally see. I want my Kirin to be a bit different after all!
I did leave space on the head to add the antlers later on as by this point, I was worn out. Even though I still had a little bit of Apoxie, I set it aside for the another day...but only after I changed this mare to a stallion!
So here HE is so far!
Still got a ways to go in this prepping process but I've still got time! January's not over yet!
Till the next time!