Saturday, February 8, 2020

NaMoPaiMo: Week I: Questioning my Sanity

For once, I started the month off with an already prepped model...but I still didn't start painting until day three. Working at the barn & traveling around left me worn out this weekend & unwilling to do more than curl up on the couch and read with Lucky snuggled up next to me.

(Tired out Lucky accurately summed up my energy level over the weekend)

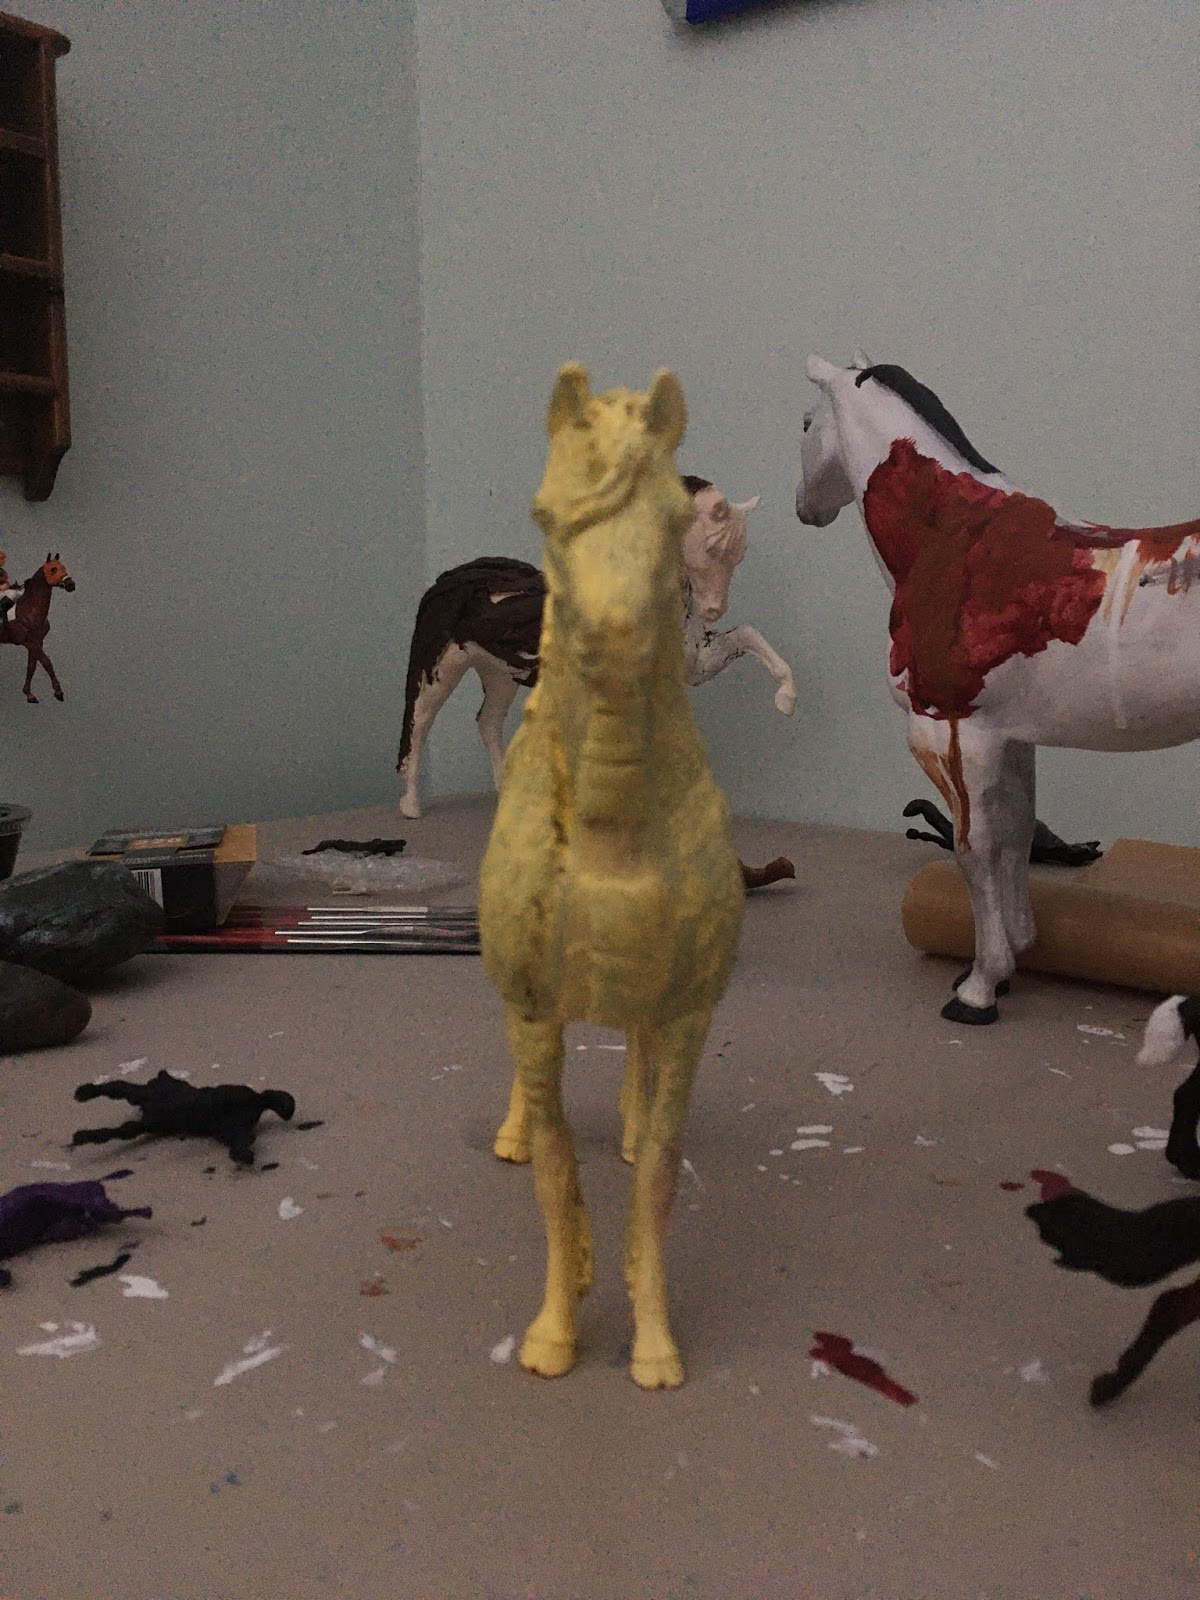
That being said, thanks to my prepping, it was an easy thing to start on my model, on Monday, by starting with a yellow base coat. While I'm not sure how common colored base coats are in the hobby, I've found that they are quite helpful. They add a little extra to the overall color, even if it's very slight.


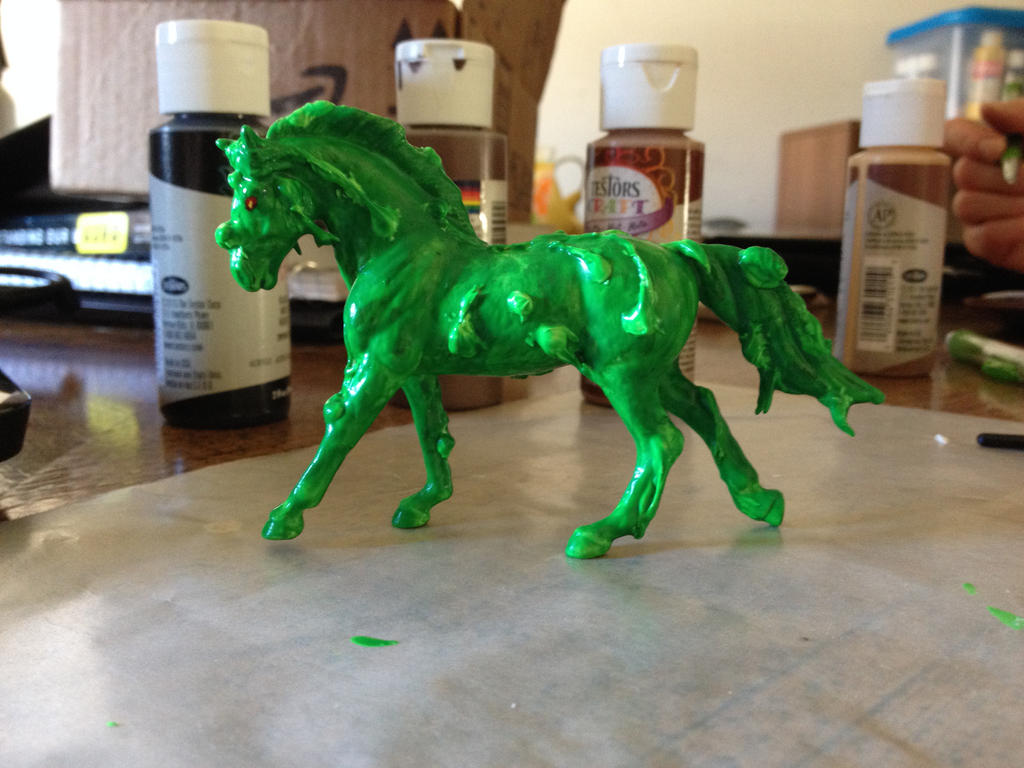
I nearly forgot that I stated in my entry that I would do acrylics & pastels on this Kirin. Bearing this in mind, I decided that the scales would be done in acrylic, while the actual "horse" part of the Kirin would be done in pastels. Based on my sketch, I wrote down that I would have an emerald green for the scales, as Kirin are described as having "jewel like scales". I also knew from my sketch that the body would be a light color-maybe a cremello or some other light coloration. Admittedly, I've been pondering the colors of the horns, hooves, mane and tail. 


Starting off with the scales, it became clear that between my priming, base coat and now the dark green, I was fast losing the definition of the sculpted scales. I was hopeful that I would be able to save them even knowing that there were more layers to come.


Continuing with the process, I started to add shading to my scales basing them off the hues seen in an emerald and using a green colored Betta Fish to aid in shading. It was at this point that I questioned my sanity. Not only was I struggling to find where I had made the scales as some had already been lost, but I was questioning why I'd made them so tiny to begin with! It was hard to apply a rough mid-tone to the scales. 


I finished the mid-tone color I wanted each scale to have, and it was at this point that I decided that I was going to ignore the sculpted in scales. Too many of them were lost or would soon be lost in the next wash of paints. 


In between layers on my actual model, I was also working on pasteling several models. I was testing a new technique to see if it was something I would use on my NaMo horse. I'm glad I tested it. While I liked it at first, I soon grew annoyed with it. Now, it was probably my application, but trying to soften the acrylic paint shading, surprisingly, annoyed me more than just using a flat base coat. The closet one I liked, and would use again on a dark horse, was my Morgan mini by Maggie Bennett. I actually shifted him over to the pastel table as I wasn't getting the effects I wanted on him via paint. 

(The pastel models some with paint shading some without near the start of their journey)
The next step on my NaMo model was to add in the rest of the shading. First, adding light tones on him followed by darker tones. When I do this I try to not use black, white or even grey. I prefer to use colors as I find they add more to the model than the neutral black, white and grey. Even more so in this instance with the scales. I decided to go with a blue and yellow (though I first used a lighter green than the base and didn't like it). You can see in the picture below that I wasn't as restricted in my application of the scales and more free-flowing.


To finish off the scales, I went over them with a wash of the original base color. To do this I used a thin, nearly watery, wash of that dark green so that it softened the shading but didn't lose the details I just put on. While I know it will look better once the scales are glossed; I can't help wanting a more shimmery or jewel like look to them. I will have to see what I have in my bag of tricks (and maybe phone a friend too!)


The next day (Thursday), I started off the day by bringing out good ol' Paint. Paint is there to take on just that-paint. He's my test model for paint thickness, color, etc. This time, Paint got brought out for extensive testing. While I do not have metallic paints on hand, I do have nail polish. More than is probably healthy for someone who does not use nail polish outside of painting model horses...

(Four polishes-convenient spot of green paint for glitter polish to go over)

Anyway! First, I pulled out four green polishes to test thickness, color etc. Two paints were immediately removed as one was too thick when applied while the other was just not the right color, even if it was a thin coat. The other two were a glitter polish and a nice dark green. I set up a test area that mimicked the scale pattern on my kirin and first put on a single layer of each.

Upon seeing the lovely thin coat I could get with the dark green, I put a second coat of glitter polish down (to see if I liked that better than a single layer) as well as putting some over the dark green. I was quite pleased with the glitter polish over the dark green and decided that would be went I used on my kirin. 

(The test area for top two polishes)
From there I was more focused on my horses that needed pastel layers than my NaMoPaiMo horse. That being said, I did get one layer of white over the yellow so that my kirin was no longer dominantly yellow. As much as I love what colored bases do to subtly shift a colors, I am more than happy that 80% of it is gone! I will do at least one more white layer of acrylic (if not two) and will than start on my pastel layers. I'm aiming for a cream colored horse with dark brown points, mane and tail. I'm thinking the scutes will be gold, but I might use paint one last time to see what I like better with the green scales.

(Much better!)
I did get one last layer of white over the yellow on Friday, as I was having quite a rough day (honestly over something silly that I shouldn't have let bother me...but alas, it did). It was a struggle to make myself do even that, but I'm happy I did that small bit of painting as it did improve my mood. Now I just need to seal the model and I can move on to pastel work.

This week I have also finished several models that I started either in January or even last year!


So that's all for my week in NaMoPaiMo. No painting today as I was at the barn giving riding instruction lessons with another instructor. I also have a mini/action figure on Team Minis Painting Minis, but that's a blog for another day. 

Till the next time!


Tuesday, February 4, 2020

NaMoPaiMo: Prequel

I'm running behind in my posts thanks to my phone holding up the whole kit and kaboodle by holding my pictures hostage. Thankfully, I was able to wrest them from it's grasp and now have them on my computer.

I wanted this post to serve as a "bear in mind" type of post. Take it as you will. These are things I have noticed in my two (going on three) years of participating. These are things that come up in various ways/shapes and I think they should be addressed.

(Logo of NaMoPaiMo)

I wanted to post a "prequel" to my NaMoPaiMo adventure (prepping is just an early start to it lol). NaMoPaiMo is a large model horse hobbyist event that started four years ago and has become such a huge part of the model horse hobby. It has inspired other "month" challenges like tack making, customizing, medallion painting, etc. It's grown so much that I think, sometimes, people forget that it all started with one person: Jennifer of Braymere Custom Saddlery While help has been recruited, it's important to remember that she is only one person. This means that we all need to be patient in waiting for responses in regards to questions, donations, etc. She runs this event out of the sheer goodness of her heart, let's not forget that. So first and foremost, thank you so much, Jennifer! I for one, would not be where I am at, currently, in my customizing if it weren't for this event. Thank you from the bottom of my heart.

Next on the agenda is remembering that there are various artists participating at various skill levels, budgets, circumstances, etc. When offering advice (and I try to bear this in mind too when I do put in my two cents) be careful that you're tone is not condescending (of course this is difficult in "text" or "typed words"). Remember that not everyone is capable of getting the high end materials or tools. Also, as this is a hobby-wide event, make sure to participate in conversations! While I am not the most "vocal" in the group, I always make sure that everyone has a comment on their finished pieces. It is a huge. Read that again: HUGE accomplishment to complete a model, especially in an event like this. No one should check to see if their picture has comments from other hobbyists to find that no one has noticed their hard work. It can be crushing, especially to someone new to customizing. Also, don't be afraid to chime in when someone asks for help. You may provide insight to the problem that the person is facing that maybe others have not been able to offer. I am personally still working on this point. The point of this paragraph is participate, participate! PARTICIPATE!!!


Now that we've got the social part out of the way, let's consider our perspectives as artists. As a whole, artists tend to be very self-criticizing. There have been many great posts from various artists in the group (which is fantastic!) in regards to this very topic. The biggest piece of advice that's going around is: don't compare your work to others. Just don't; and I'm going to give you a great example as to why!

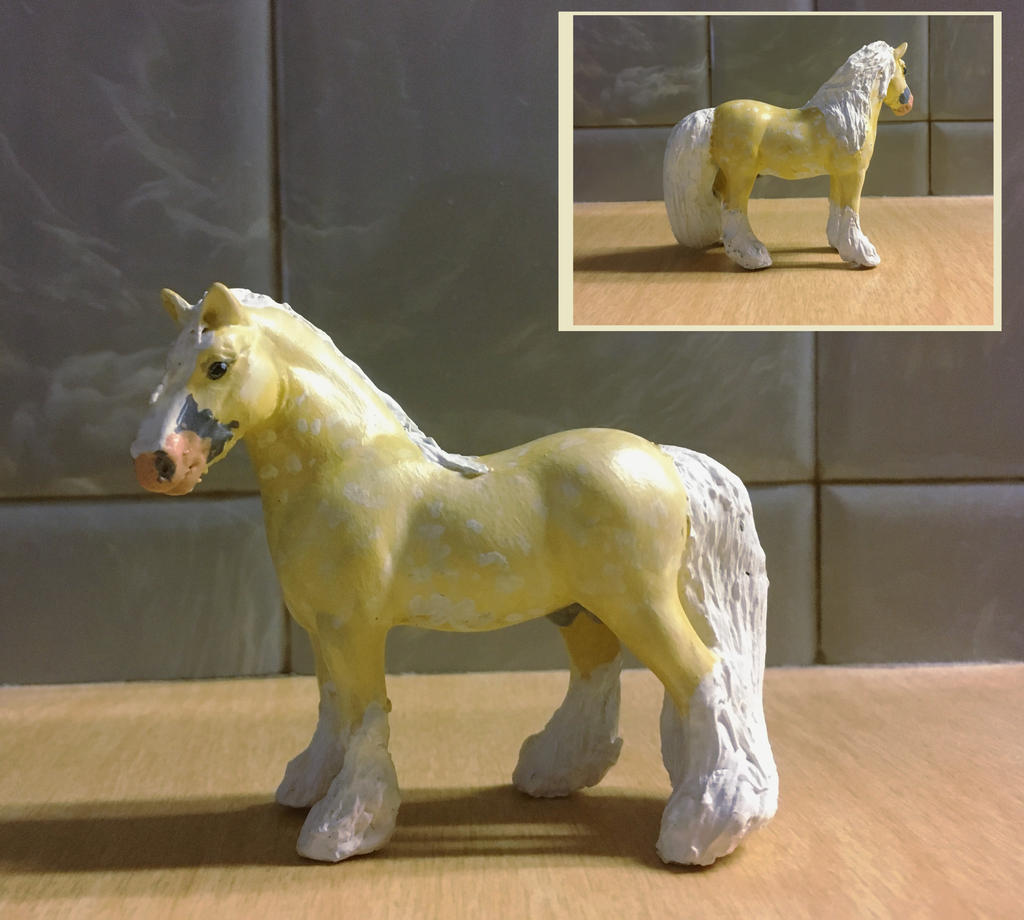
At the last model horse show I attended my friend and I were both showing our mini Clydesdale mares in the same class. Being as self-critical as I am, I looked at my friend's mare, then at mine and said "Mine is not going to beat yours." My friend chastised me and reminded me of the success I'd had that show (several of my pieces-first time for me-had gotten in the top three). My mare placed second, my friend's placed first. HOWEVER, it was a tough class. That my mare had gotten second was awe inducing to me. I considered her "muddy" and yet their she sat on the table with a second place ribbon.

(Mini Clyde mare of the story)

This is not for attention or to garner "but it looks great!" comments. It is just a prime example of why you shouldn't compare your work to others. Instead, compare your work to YOUR past work! For instance, I have an old black and white paint horse on a Mesteno. Last year, I painted two other black and white Mestenos. I see a difference, I see improvement.

(2011 Mesteno)
(2019 Overo Mesteno)
(2019 Tobiano Mesteno)
My next point of this prequel applies to everyone, but particularly beginners. We all have a wealth of knowledge at our disposal this month when artists are more than happy to share their secrets, techniques and most importantly, their experiences. Make use of this! Having trouble with eyes? ASK! Not sure how to do manes and tails? ASK!! Want to learn how to paint hooves realistically? ASK!!! There are so many artists participating who are more than willing to help others out! Do not waste this opportunity to learn! While I said this mainly applied to beginners it applies to all artists really-never stop learning, for that's when we truly fail. Always seek ways to improve, even if your work is in the class of the elite. Everyone can always learn some new tricks/techniques.


From there, we need to talk about materials. Every artist has their favorite material(s) that they like to use to paint horses. Does that make one medium better than another? Absolutely not. Do not feel that your hand-painted acrylic horse is inferior to a different medium. I have seen hand-painted acrylics from the start of the hobby kick-butt at shows against those other mediums. I have also seen acrylic painted horses done by artists TODAY beat out their pastel/oil couterparts. Don't take that out of context! I use pastels and I want to learn how to use oils this year. Heck, I want to do a horse entirely out of colored pencil too! (They are cool!) You need to remember that each medium/material has its pros and cons & they each have their own learning curve. Find what works for you! I work dominantly in acrylics because I am most comfortable with them. Like I said, I am learning how to use pastels, and I intend to learn about others too. It's all about what YOU, as the artist, are comfortable with. 


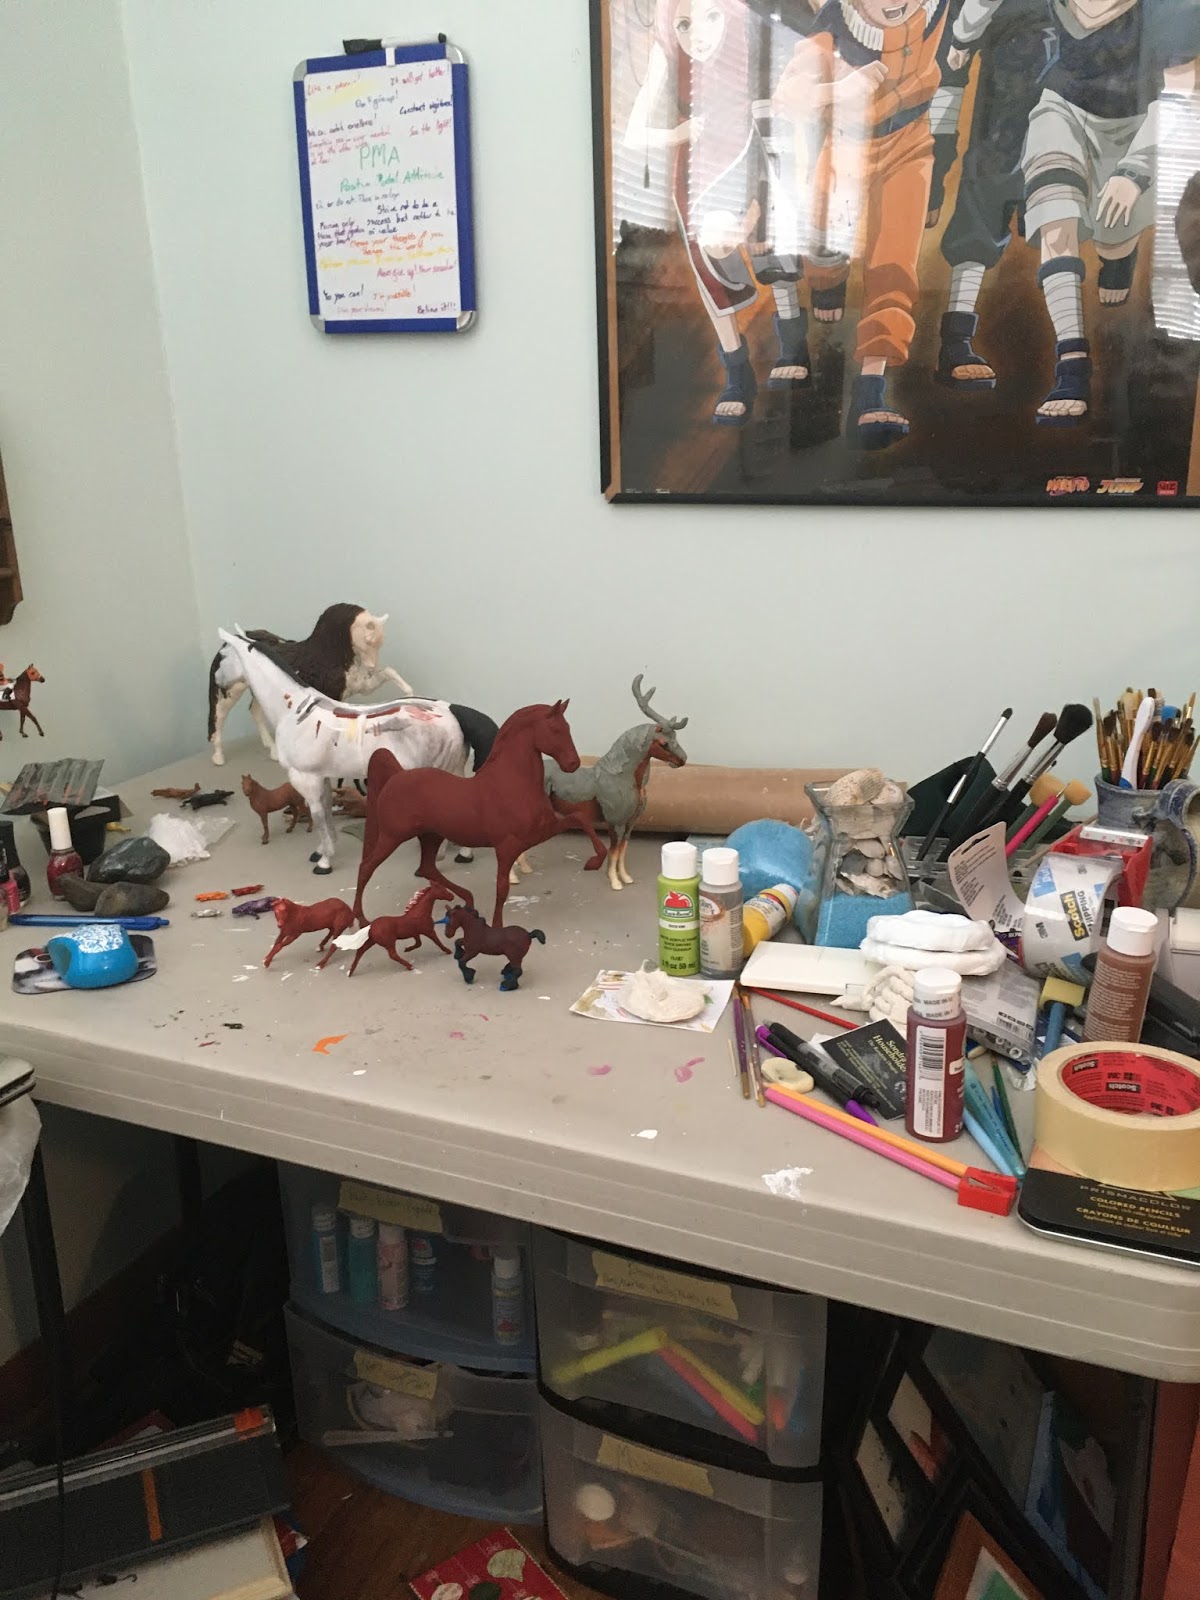
As we near the end, we need to discuss studio space too. There is more on it below, but please don't think that you need to have your own studio to create art. I create my art in the corner of my bedroom with a hodge podge of tables, plastic drawers, an easel I cobbled together, and organized chaos everywhere. You can create art wherever you deem appropriate. If it's just on a small table or shelf, that's fine. If it's in your lap because you don't have the counter space, that's fine too. There is no right way or place to do art. 


Finally I want to end this post on what I posted to Instagram (in "reply" to posts I'd been seeing on various social media).

"There has been quite a few people sharing their work spaces/studios/studio space on social media recently with NaMoPaiMo starting in only a few days. 

"I wanted to share my own space and philosophy. You can see there's been an upgrade from a board over the two drawers to an actual table (it was given to me so no cost on my end besides lugging it home). But the duct-taped easel remains & most likely will for some time. I have attempted organization but you still see organized chaos due  to space. My materials/mediums are not the most expensive brands (& I can say that I have had success with my paint jobs in photo shows & live shows). 

"Admittedly, it's taken time and practice but please, do not EVER feel inadequate because your work does not "measure up" to someone else's,  or that your materials are inadequate to create "good" or "great" art. You CAN create (great) art with any materials, any place, any technique & on any budget. Do what works for YOU, keep practicing & learning & make art to make yourself happy. 

"You cannot please everyone, nor can you compare to anyone. We are all unique individuals with different personalities, learning styles & views of the world we share."

I hope this proves helpful to people Till the next time!


NaMoPaiMo Prep: Part V

I had a heck of a time tweedle beetle battling with my phone to get my final prep pictures (and several others) off of it. I did it though!

We last left off with the wait for various drying apoxie parts both on the Kirin itself and the antlers.

(Antlers drying on makeup brushes to give them their shape.)
The extended drying time turned out to be a blessing in disguise as the antlers I sculpted were quite large, a bit closer to Traditional scale (1:9). On top of that, the antlers were slightly different sizes. While not a huge, noticeable difference, it was enough to bother me. So I quickly changed gears and opted to use one antler. As the antlers weren't completely dry, I altered the shape of the chosen antler and attached it to my Kirin's head. 

(Antler drying-a prime example of using what's on hand.)
Before that, I did carve out some of the front of the hooves to give the appearance of cloven hooves. 


As Kirin are depicted with a single horn, I did not find this a bad solution to my problem. However, I did poorly connect the antler (due to the semi-dryness of the apoxie) and it did come off. Knowing I could reattach it after sanding and priming both the antler and body. This was also a turn of good fortune as I was better able to prime the antler as it sits nearly on top of the forelock of the model. 

(Antler-less Kirin with starts of primer)
Personally, I like to use white gesso to prime my models. Plus, I can mix acrylic paints in to give the model a start in the right direction, even before my base coat goes on. As this Kirin is going to have emerald colored scales and a creamy colored body, a yellow base will add to both colors (at the time I was working on this I hadn't considered the scutes, antler or hooves color). Mane and tail I was considering a dark brown or else the same color as the body. 

On Jan. 31st, I did it. My model was prepped, antler attached and my "nudie" picture sent in for the fun "before" collage photo that Jennifer Bray-Buxton is kind enough to put together.

("Nudie" selfie of me & my Kirin-ready for NaMoPaiMo!)
Till the next time! (Which isn't far away!)


Wednesday, January 22, 2020

NaMoPaiMo Prep: Part IV

There has been a lot going on these past couple weeks with Equine Empowerment Inc's open house as well as my Year of the Pig Project items going up for sale  I've been kept pretty busy!

Progress has been slow on my Kirin as I wait for separate Apoxie parts to dry. I have gotten the hooves to appear cloven, and the antlers are currently drying. All the needs to happen is attachment of the antlers and then final rounds of sanding & priming.

In the meantime, I worked on four horses this month with several others in their prep phases too. I am not the type to let paint dry, nor am I (typically) the type to get up and walk away from my designated studio space once I'm in it. Instead, I work on multiple projects at a time. Originally, I tried to work on multiples of the same color, but with the addition of a palette with a lid to my tools, I am able to work on multiple, different color projects without issue.

Prime example are the three Maggie Bennett micro minis I finished this month. It should be noted that they have similar colors used for shading (mostly) between purples, blues and greens, but base colors and some shading were done differently (Flaxen chestnut Arabian has yellows, reds and oranges; black Belgian was done with purples and greens and gra Fjord was done with silver and a cooler grey-not as much color experimentation on him).

(Maggie Bennett's Jessie to black Belgian-no shoes)

(Maggie Bennett's Bangles to flaxen chestnut Arabian)

(Maggie Bennett's Viking to gra Fjord)
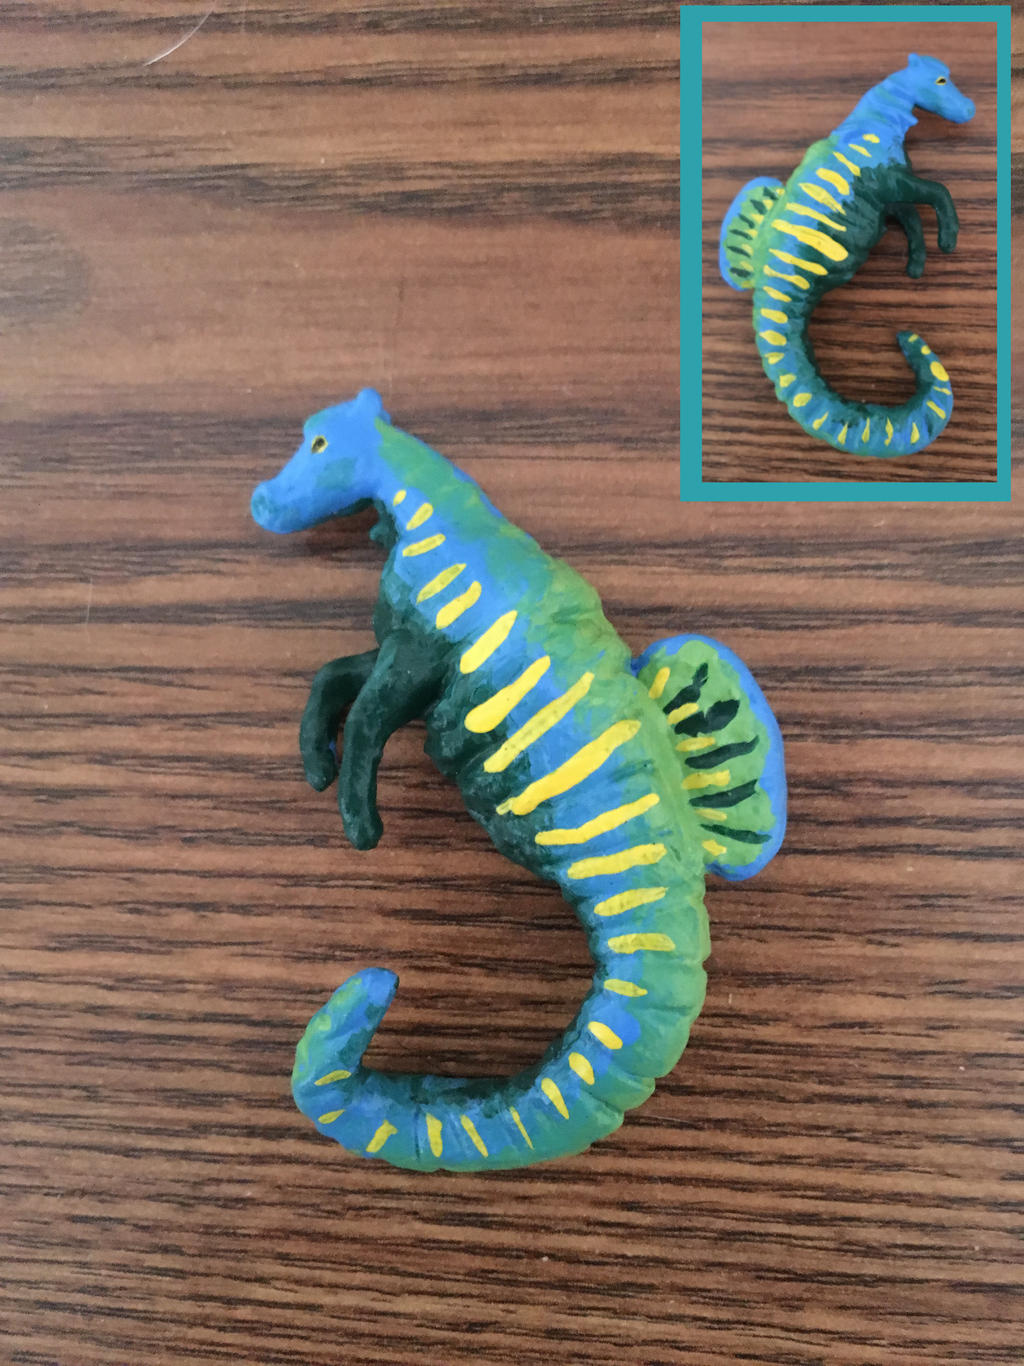
There was one straggler from last year who was completed this month, and that was a clear ware SM that I started at a Christmas get together and only just finished. Rather than one layer of each color, this little guy has two layers that added a nice depth to his color compared to the single layer that, I believe, Breyer intends you to do with these little guys. I hope to get my own set sometime in the future as they are fun even if the paint is slow to dry. 

(Fun little sun catcher SM from Breyer's set dubbed Calcifer after the character from Howl's Moving Castle)

I intend to have all my prep work done BEFORE February this time, and I see that I'm starting to run out of time, so wish me luck!

Till the next time!


Wednesday, January 15, 2020

NaMoPaiMo Prep: Part III

I did not intend to work on this horse as much as I did today. My initial plan was to just do THE SCALES! Then I kept having a little bit of Apoxie left, and then I realized that I could just get so much done, and just...wow!

(Seriously...did not intend on getting this all done in one fell swoop!)


But I got ahead of myself. Earlier in the day, I had been working on painting my Year of the Pig magnets/medallions. Due to being an impatient person, I usually paint several projects at once, so I also had four Maggie Bennett micro minis on the table (I fell behind on keeping up with painting them). When I did finally stop for the day, I was already tired, but in a good way. Knowing NaMoPaiMo is fast approaching, I wanted to put in a bit of work on my model, and you already read what happened!

(The main project right now-Year of the Pig Sculpey magnets/medallions)

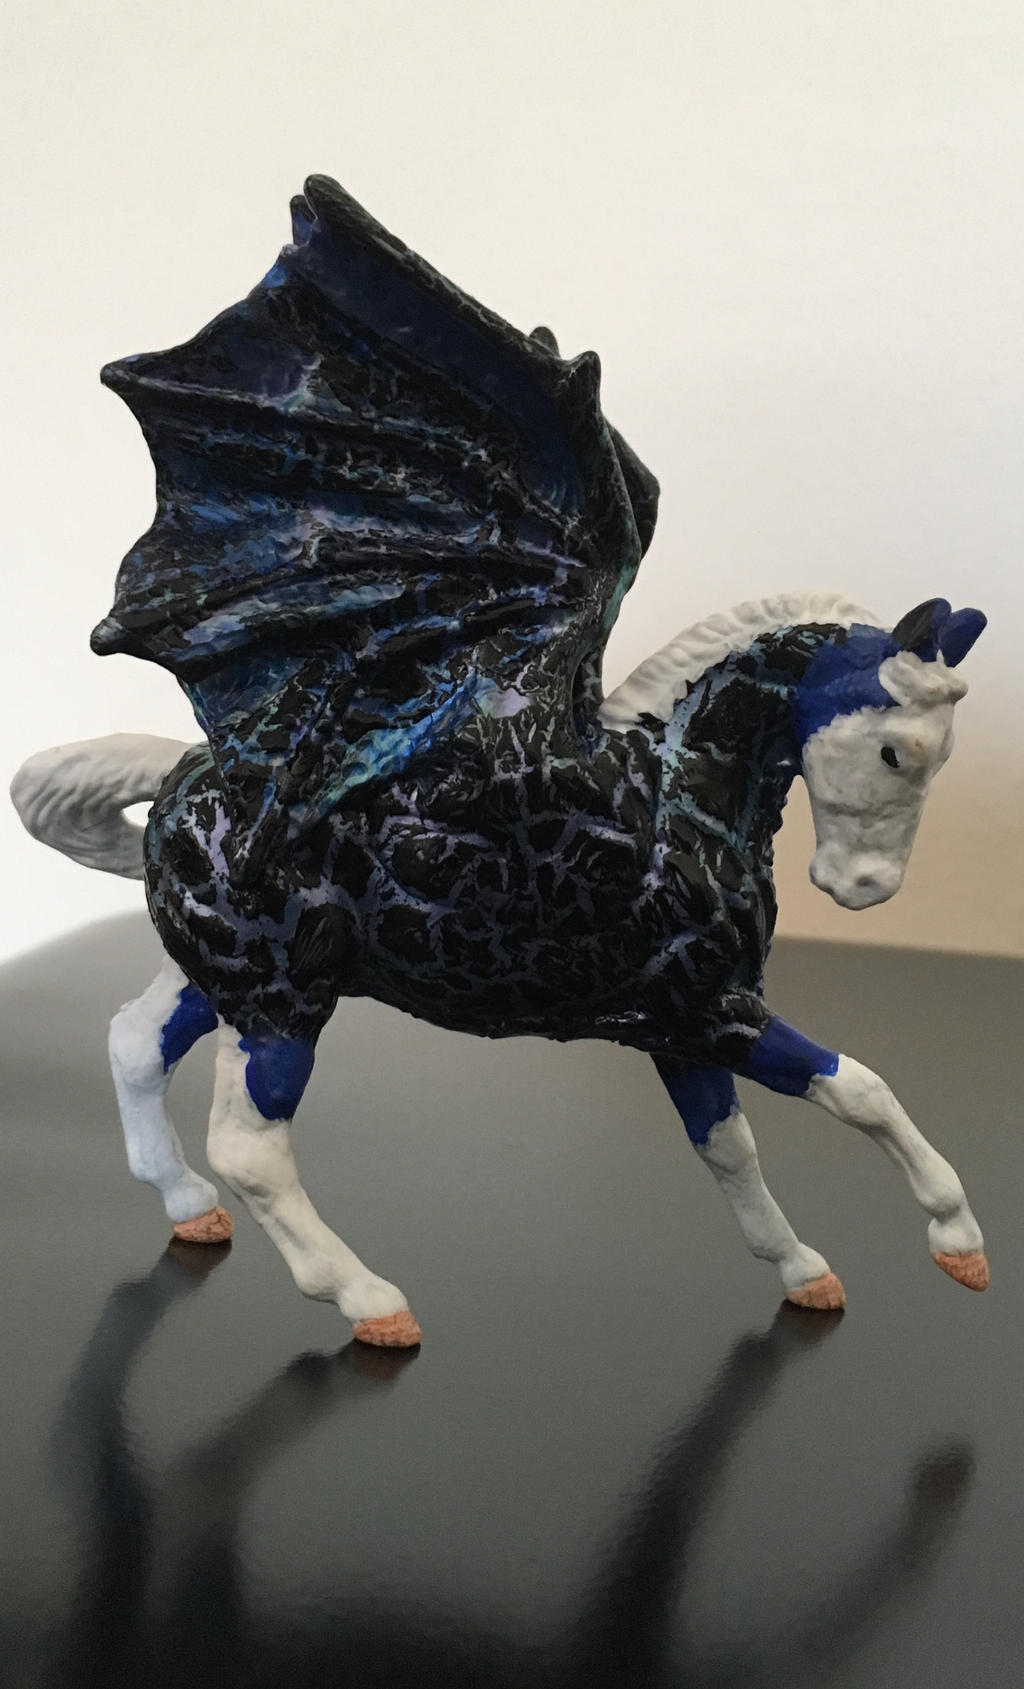
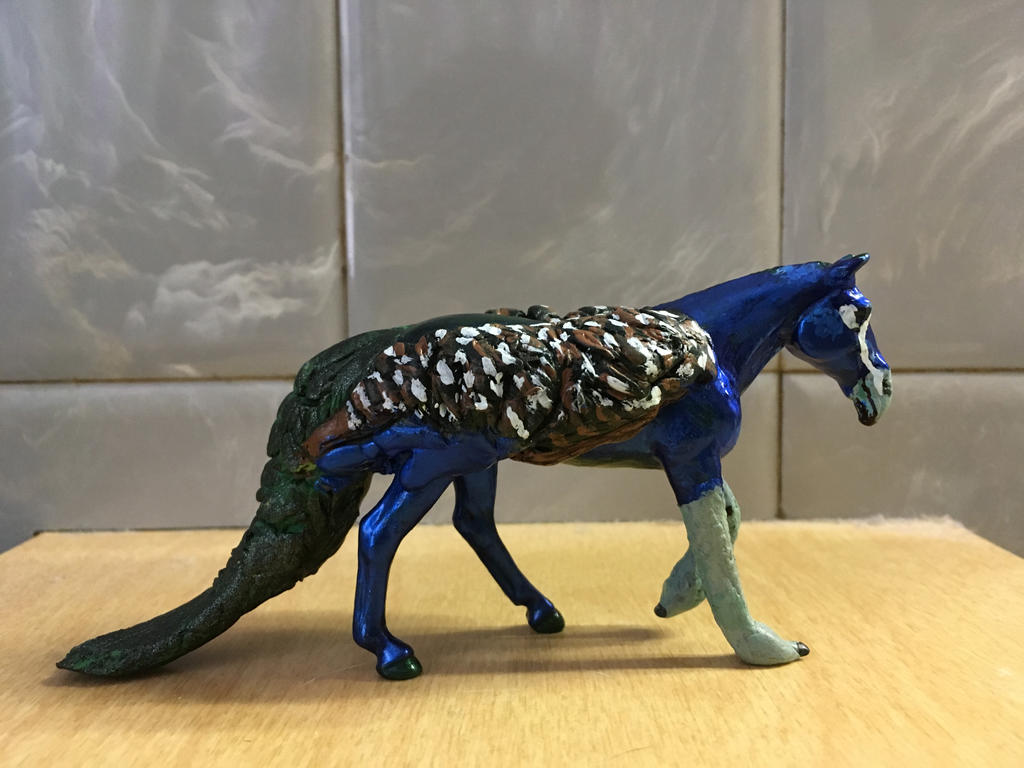
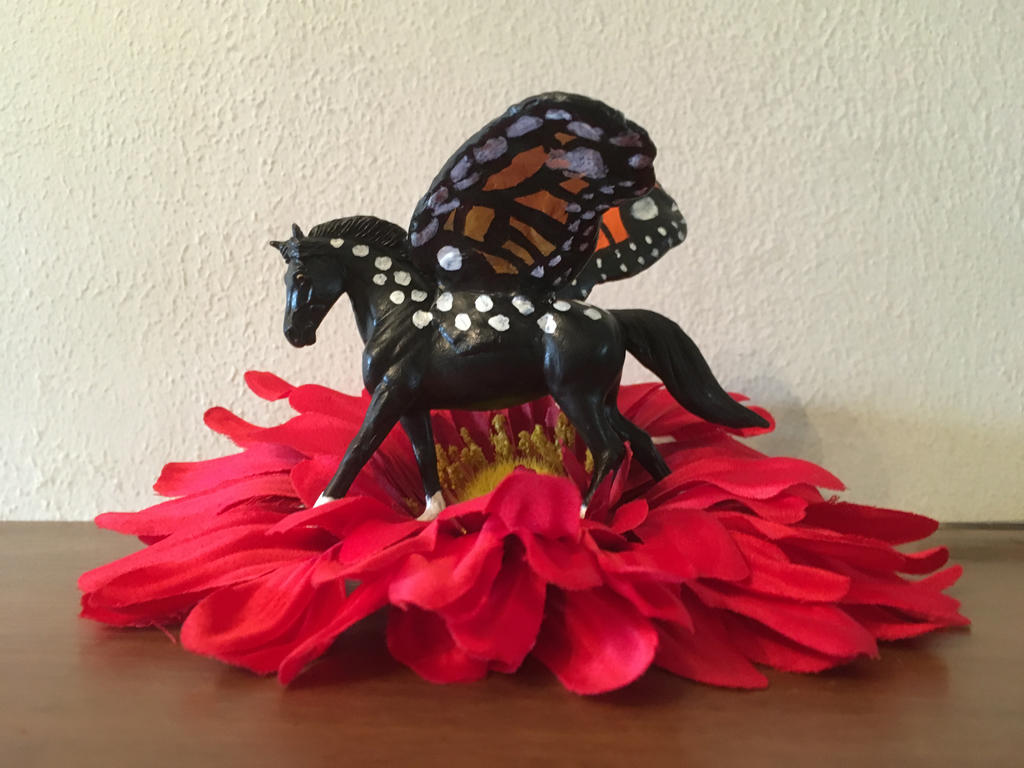
We'll preface the actual sculpting a bit more here. If you're new here, you may not know that I have sculpted and worked with clay before. It is not a media I'm unfamiliar with. I AM still learning how to use it on model horses (wires are still strange to me as that is one technique I did not explore while in high school or college-shame on me!) So I've had varying success with clay on models, particularly in the wing department. (Hence my original model idea being a pegasus-darn shoulder!) You can view these models below. WARNING: more pictures than I realized! View at your own discretion.

First those with wings:

(I did not sculpt these wings-just to be clear! I took them off a Safari dragon.)
(This one I did all the sculpting)

(This is the oldest one I have-in regards to wings, this was in 2017.)
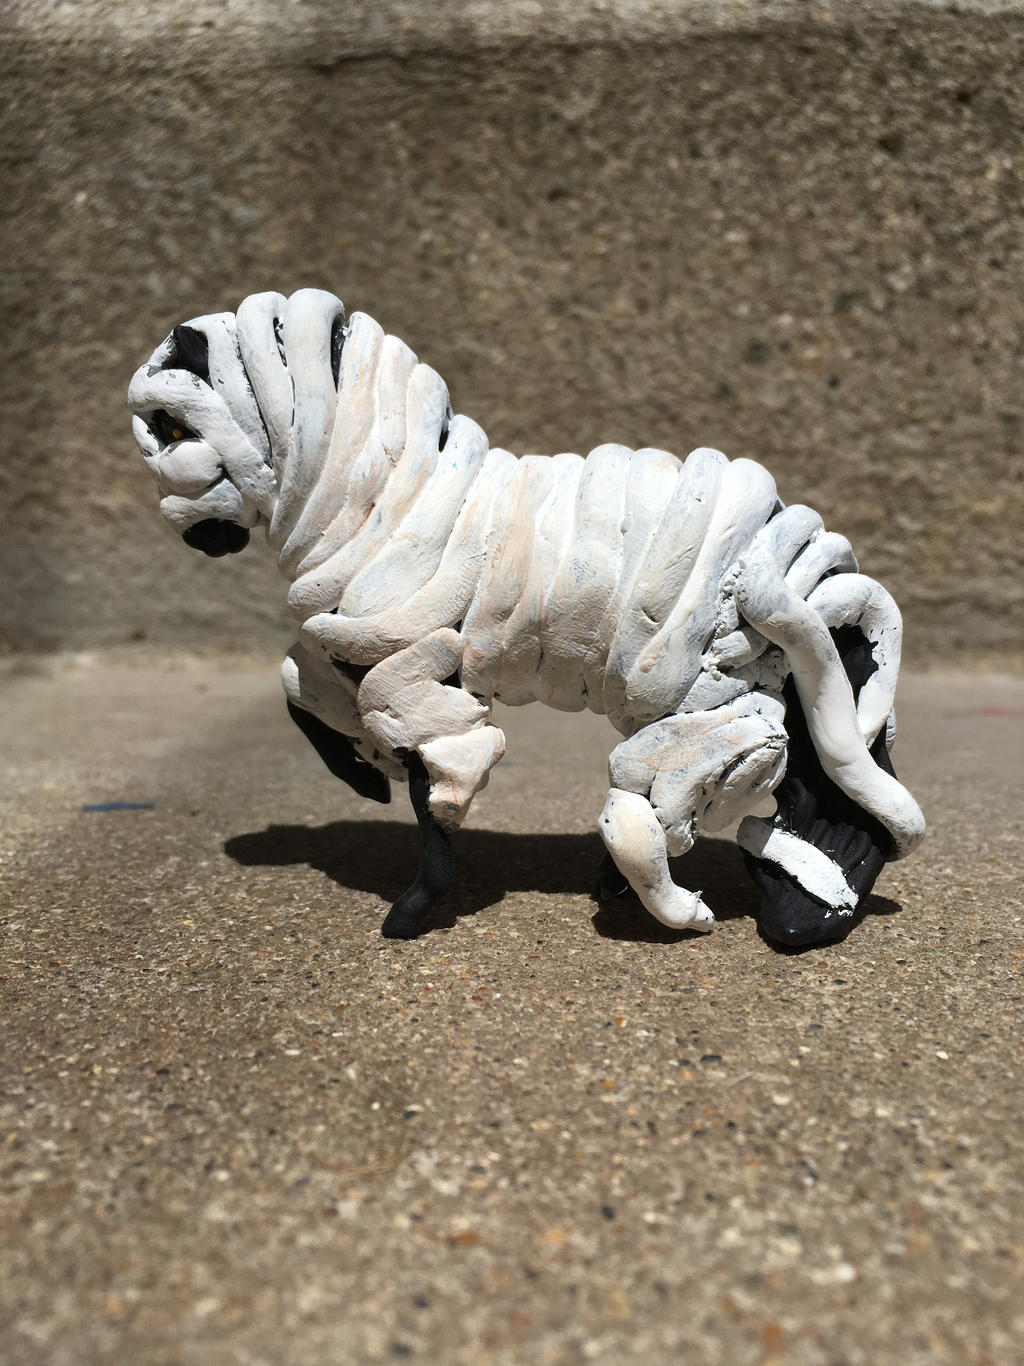
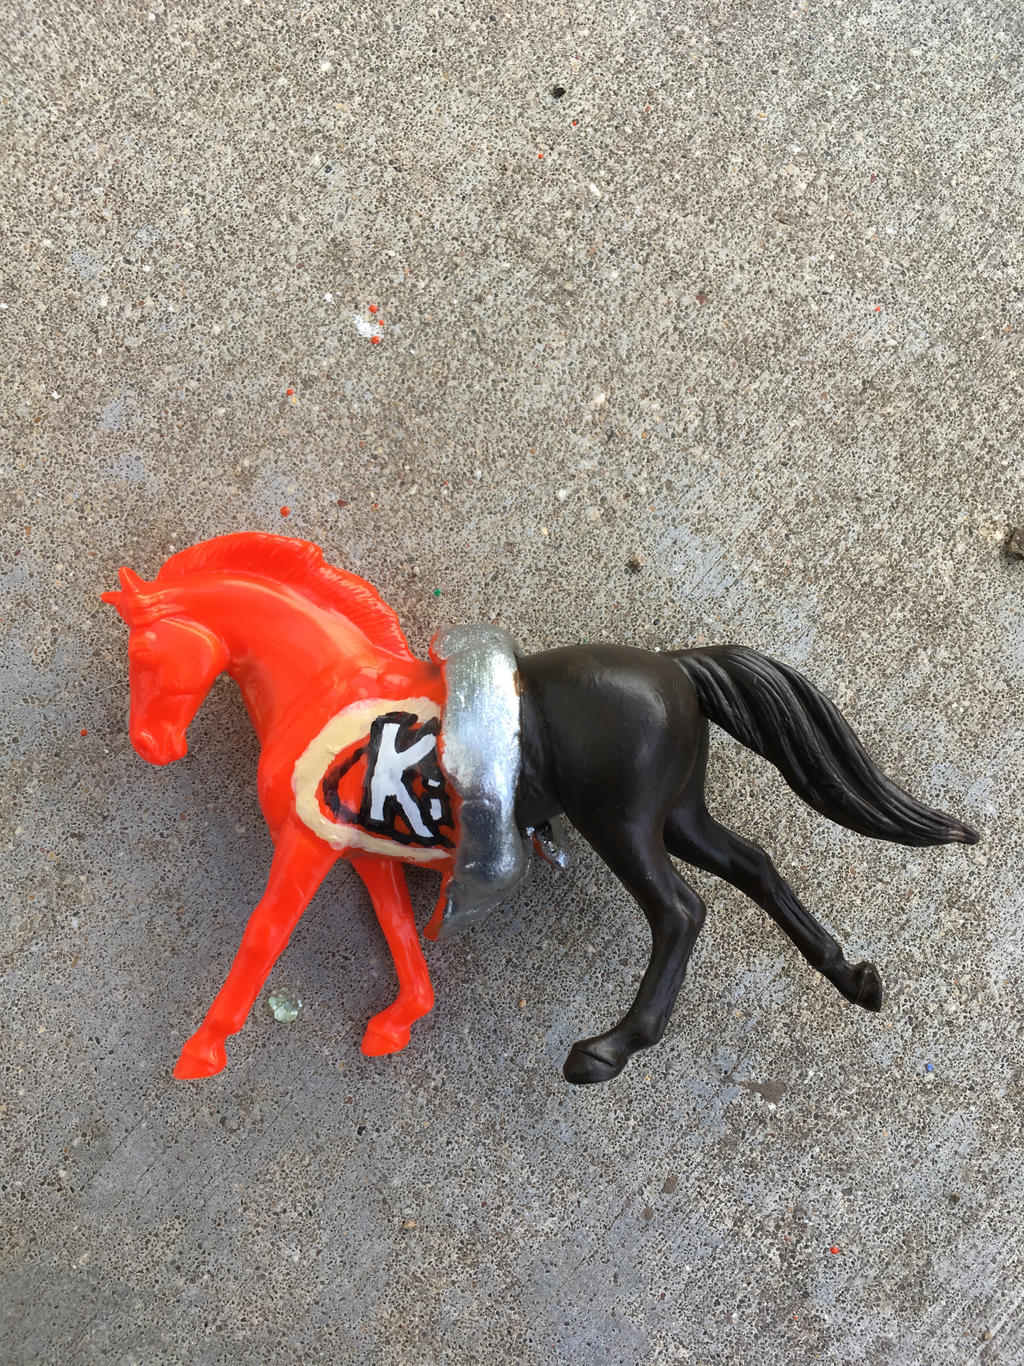
And those that just had clay additions:

(A more recent use of clay on a model)

(One of my favorites)
(It should be mentioned that this one has Apoxie Paste in use, something I don't have for my NaMo model)

(You can tell I'm a stranger to fantasy, right?)
(Another of my favorites)

With the background out of the way, let's dive into the process now!

With my original NaMo model, I did not need to sketch out what I wanted. I knew exactly how I wanted the model and wings too look. Usually, this is how I work. Every now and then, I do need to sketch out my idea(s) though, especially in this instance as my intent is to create a Kirin. 

Kirin are the Japanse version of Qilin, which is Chinese. Both are mythical, hooved chimeras. I have worded the description this way due to the many ways in which a Qilin/Kirin is described. Qilin, specifically, tend to have attributes of the Chinese dragon, as well as partially scaled bodies, beards, thick manes, cloven hooves and are often shaped like oxen, deer or horses. It is believed that giraffes, yes giraffes, were thought to be Qilin. There are other attributes that are commonly seen like antlers (attribute of the Chinese dragon), a single horn (Western modernization of the creature), tufts of thick fur, feathering on the legs, catfish like whiskers, even fins! If you want a fun fantasy creature to try for your first time that's outside the realm of unicorns and pegasus, this is a great one! There isn't a wrong interpretation of this creature! Just look at game art, or even just art in general if you need inspiration. This is a great mythological creature, lore and all!


(Sketch of my model with Kirin features)
With research and then the sketch out of the way, as well as the initial sanding of last time, it was time to start adding those Kirin features. With Apoxie and some tools, the fun began! 

Once again, I originally only planned on doing the scales of the Kirin this evening, but as I kept going and kept having "just a bit" of Apoxie left over from each task, I soon had 95% of my Kirin features added this evening. 

To achieve the scale pattern, I used excess filter netting from my Goldfish's filter parts (unused) and pressed that into the clay once I had laid down where I wanted my scales to be.

(Tools used this evening)

With my scale pattern in, it soon became clear that I would need to do a new mane; as the scales were a bit thicker than I'd initially intended (plus you can only roll clay so thin and stretch it so far). Again, I did not plan on doing that tonight either. What I did decide to do with my "little bit" of Apoxie left was add the beard and feathering on the legs. Midway through this process I needed to make more Apoxie (can you see the vicious cycle that started?)

Once finished with the feathering and beard, I still had a bit of Apoxie left, so I started work on the tail as it needed thickening as well as a "lion" like tail added. You can see in the image below that it was SUPER thin. And of course, once the tail was done (more Apoxie made too) I still had some left from the newest batch...onto the mane I went!


As I didn't go into the process of how I got the scales on before, and as it's the same I used for the mane, I rolled out the Apoxie with a rolling pin until it was as thin as I could get it (and still lift if off the table) and lay it across the body, cutting it to size with my shaping tool (which ironically, cuts really well). From there I used the needle tool to add texture to the mane. 

With still more left Apoxie left, I moved on to the scutes in my sketch, adding those to the legs like I originally planned. Once these were in place, I decided that some needed to be added to the belly, neck and chest, but not all connected like you'd traditionally see. I want my Kirin to be a bit different after all!

I did leave space on the head to add the antlers later on as by this point, I was worn out. Even though I still had a little bit of Apoxie, I set it aside for the another day...but only after I changed this mare to a stallion!

So here HE is so far!


Still got a ways to go in this prepping process but I've still got time! January's not over yet!

Till the next time!


Monday, January 13, 2020

NaMoPaiMo Prep: Part II

With a model chosen, now we move on to one of my least favorite things...prepping. For those who read this and are maybe not super involved in the customizing part of the model horse hobby, or perhaps, only customize as a form of fun/casually. Prepping is a huge part of customizing a model.

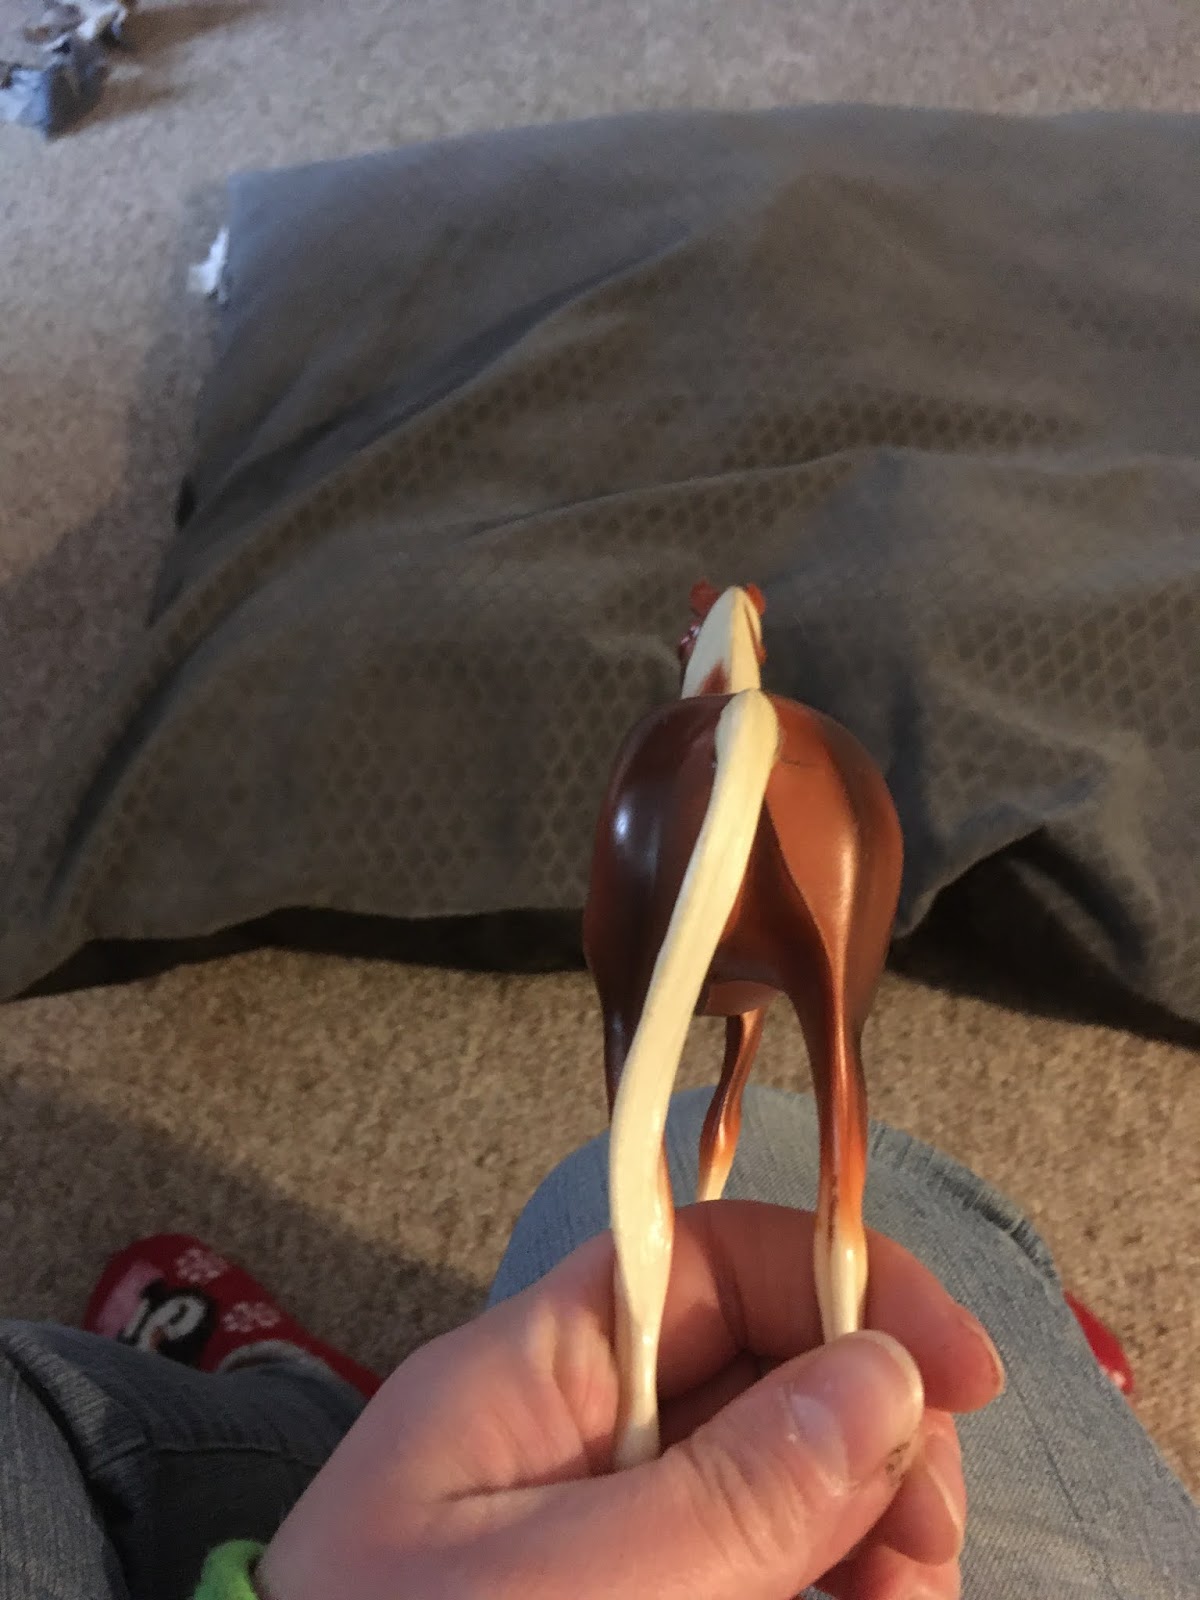
Assuming that you have not done any drastic customizing (moving legs, head, tail, removing head, legs, tail, etc.) you start with sanding. Models, particularly mass produced ones like Hartland, Schleich, CollectA, and Breyer sometimes leave the factories less than perfect. This mare was no exception. She had some glaring seams that I did not want to remain on the model. Seams on her face, chest, front and backs of all four legs, belly and hindquarters were removed.

(When viewed from the sides, seams are not as obvious)

(When viewed from the front, or in this case, behind seams on the hindquarters and legs are visible)
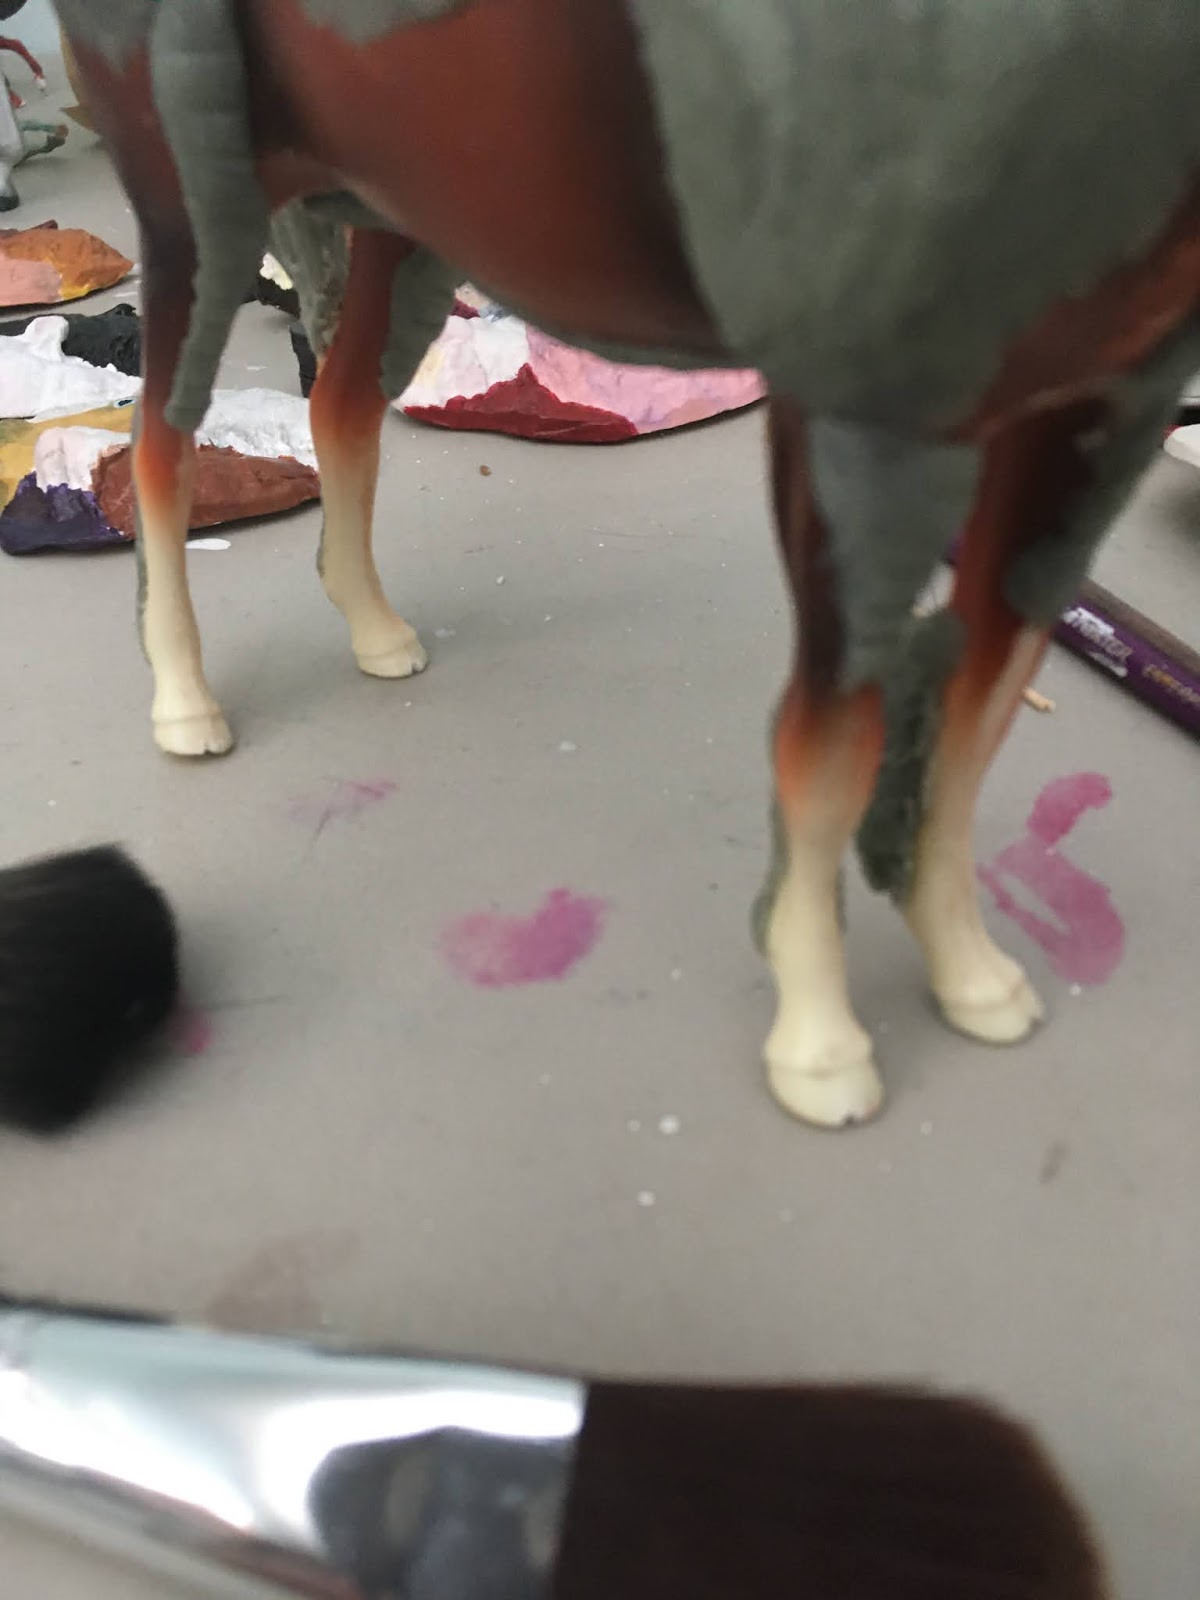
As for the sanding process itself, I highly recommend wearing a mask, as you really don't want to be inhaling particles of plastic. Tool wise, you can use regular sanding paper, but I've found that a sanding block and files are far more helpful in getting into tough areas. Also, a makeup brush, or some form of soft brush to remove the particles off the model. You should not be able to feel the seam(s) any longer when you run your hand or finger along the model. 

(The tools I used to sand my mare, all but one of my files was used as well as the sanding block & makeup brush)
Many people will also sand off the logo of the company that made the model to help make the models look more realistic. After all, real horses aren't stamped with logos (brands are a different thing). 

Once finished sanding, make sure you give the model one more good dusting with your makeup brush or soft brush. You can see all the sanding I did on my model in the pictures below. 


Now you're either ready to paint, or in my case, ready to move on to the next phase...

Adding Apoxie features!

Till the next time!


Saturday, January 11, 2020

NaMoPaiMo Prep: Part I

With the new year comes one of the model horse hobbies big events: NaMoPaiMo or National Model (Horse) Painting Month. NaMoPaiMo starts on February 1st and goes to the end of the month. Registration is open now & will remain open till the 31st. Painters choose a model to paint during Feb. and the goal is to do something different or new.

 In the past two years I’ve tried new techniques while also painting different scales of models. This year I’m on Classic or 1:12 scale. Originally, my plan was to use the Breyer Bucking Bronco mold & turn him into a dappled blue pegasus with hand sculpted wings. Alas, I tore the ligaments in my left shoulder & twisting wire to create a sturdy support for the wings is out of the question. Luckily, like many hobbyists, I have a “body” box; so I was not lacking in choices for a new model to paint.


Wanting to stick with my chosen fantasy theme I grabbed a 1:12 scale Hartland Morgan mare who will be turned into a Kirin (possibly a stallion). The model has some seams that need to be sanded as well as needing the Kirin features added. Overall, it’s easier to get ready than my other choice.

So prepping will be going on as I finish the pig magnets/medallions to put up for sale witv the rest of the Year of the Pig pieces.

Till the next time!